
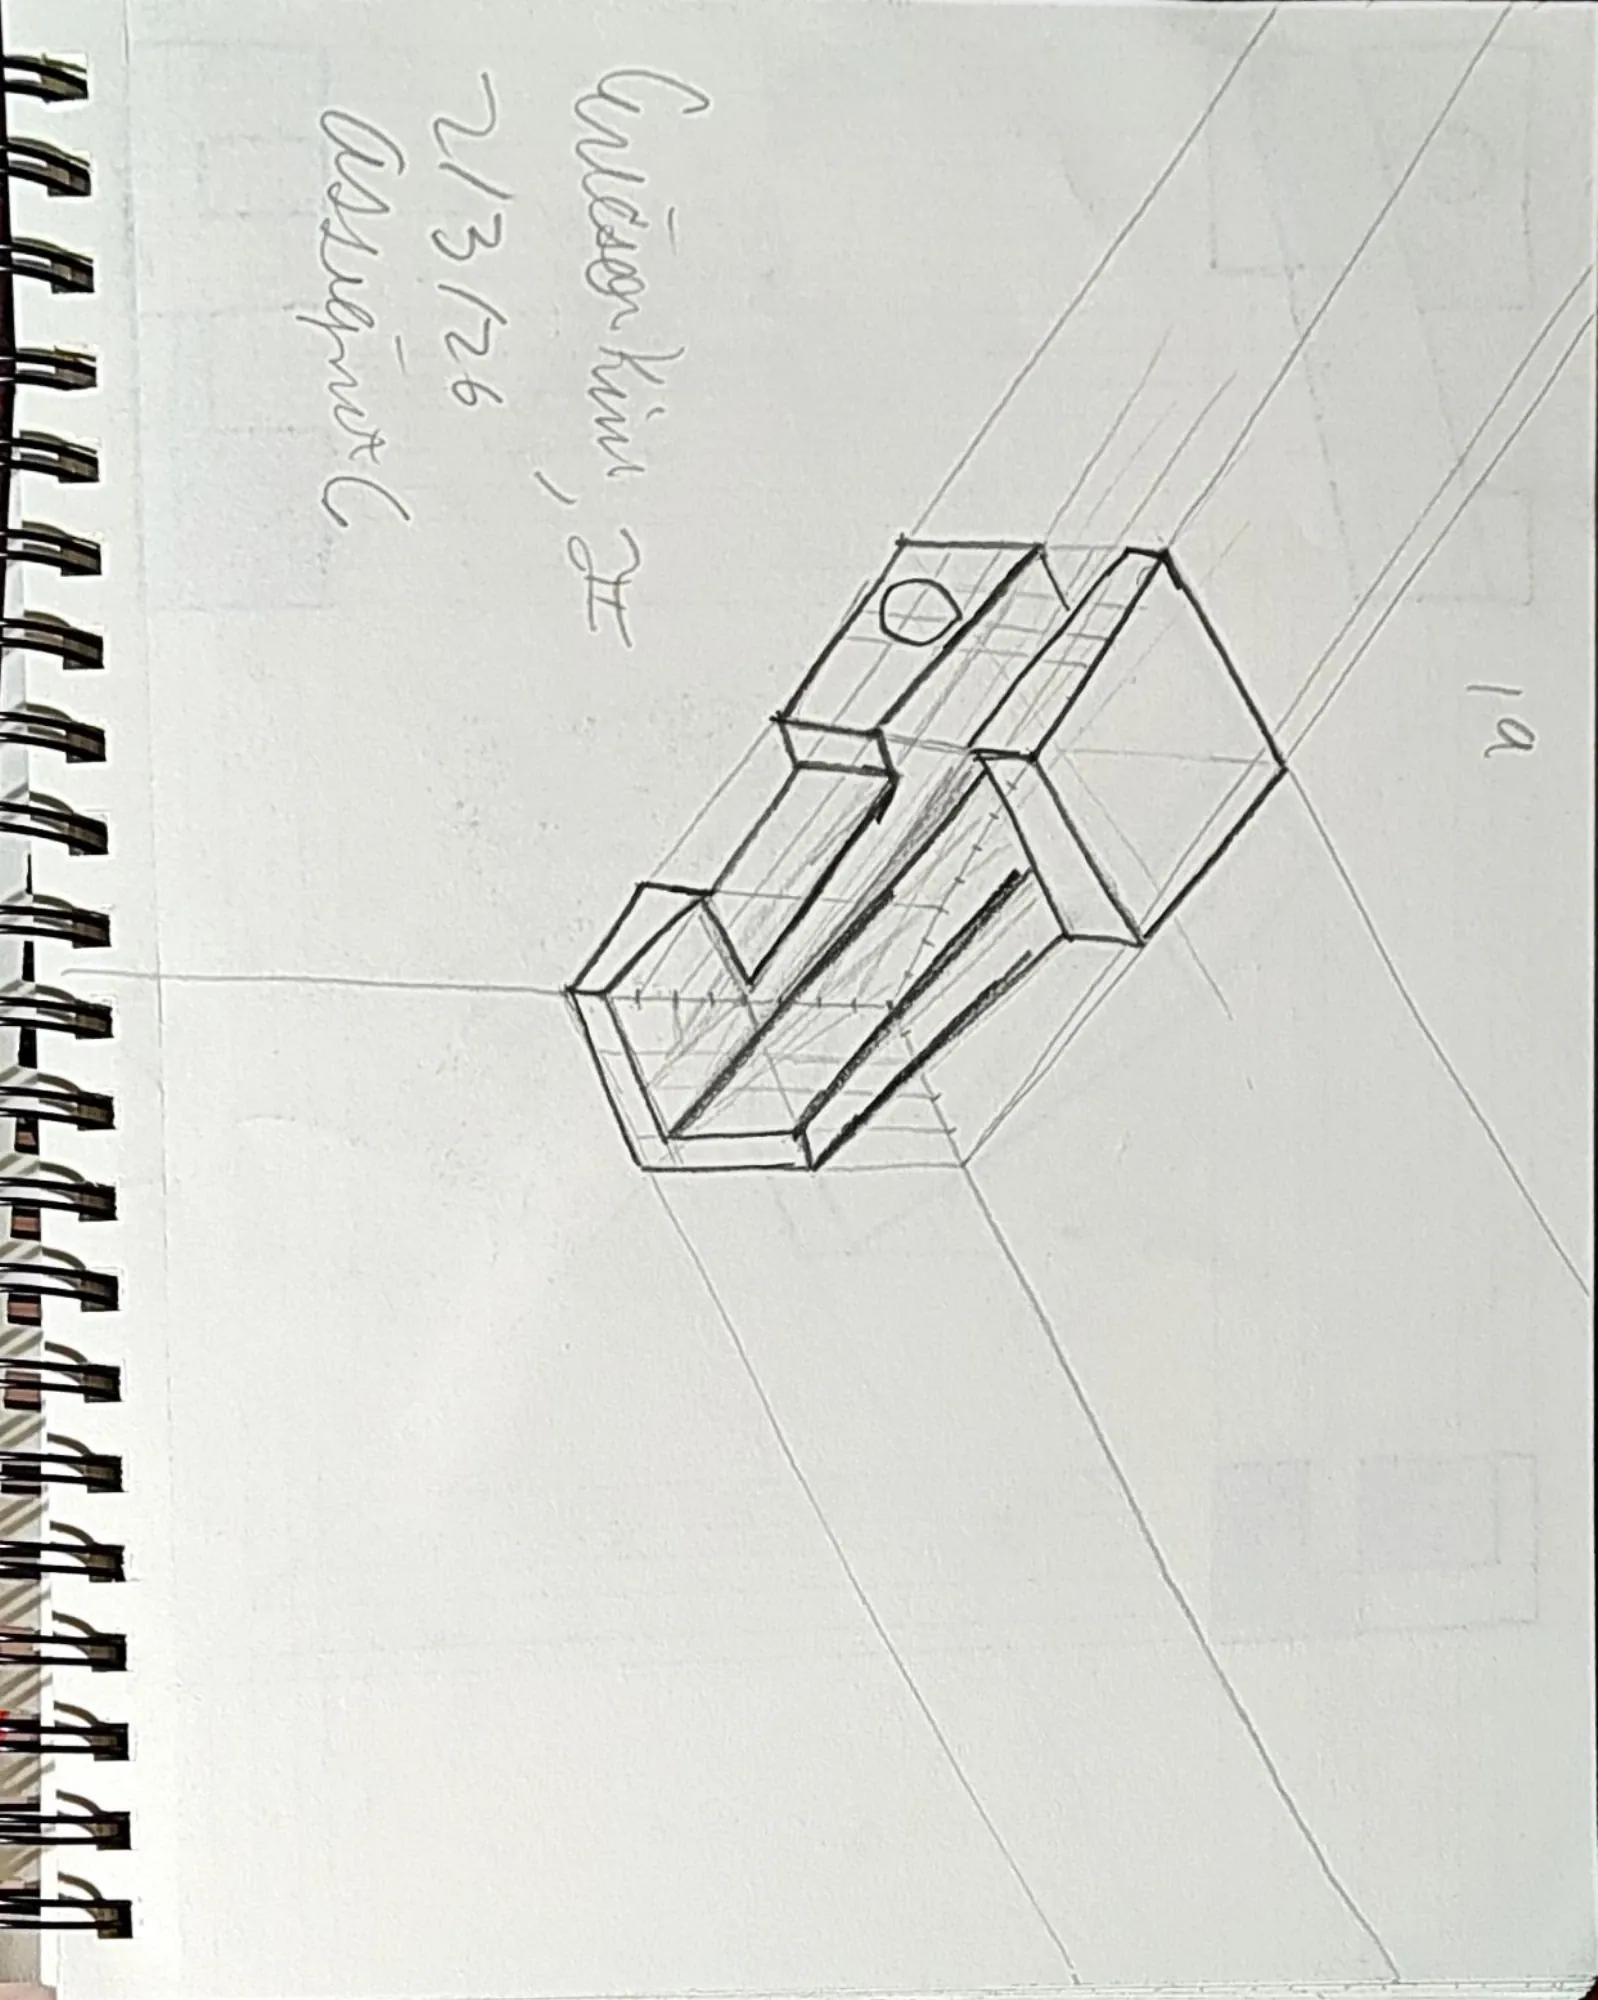
Sketching Fundamentals
Learned a variety of ways to draw, formulate, and design 3D and 2D objects on a 2D surface. Most importantly used these methods to communicate many ideas and processes.
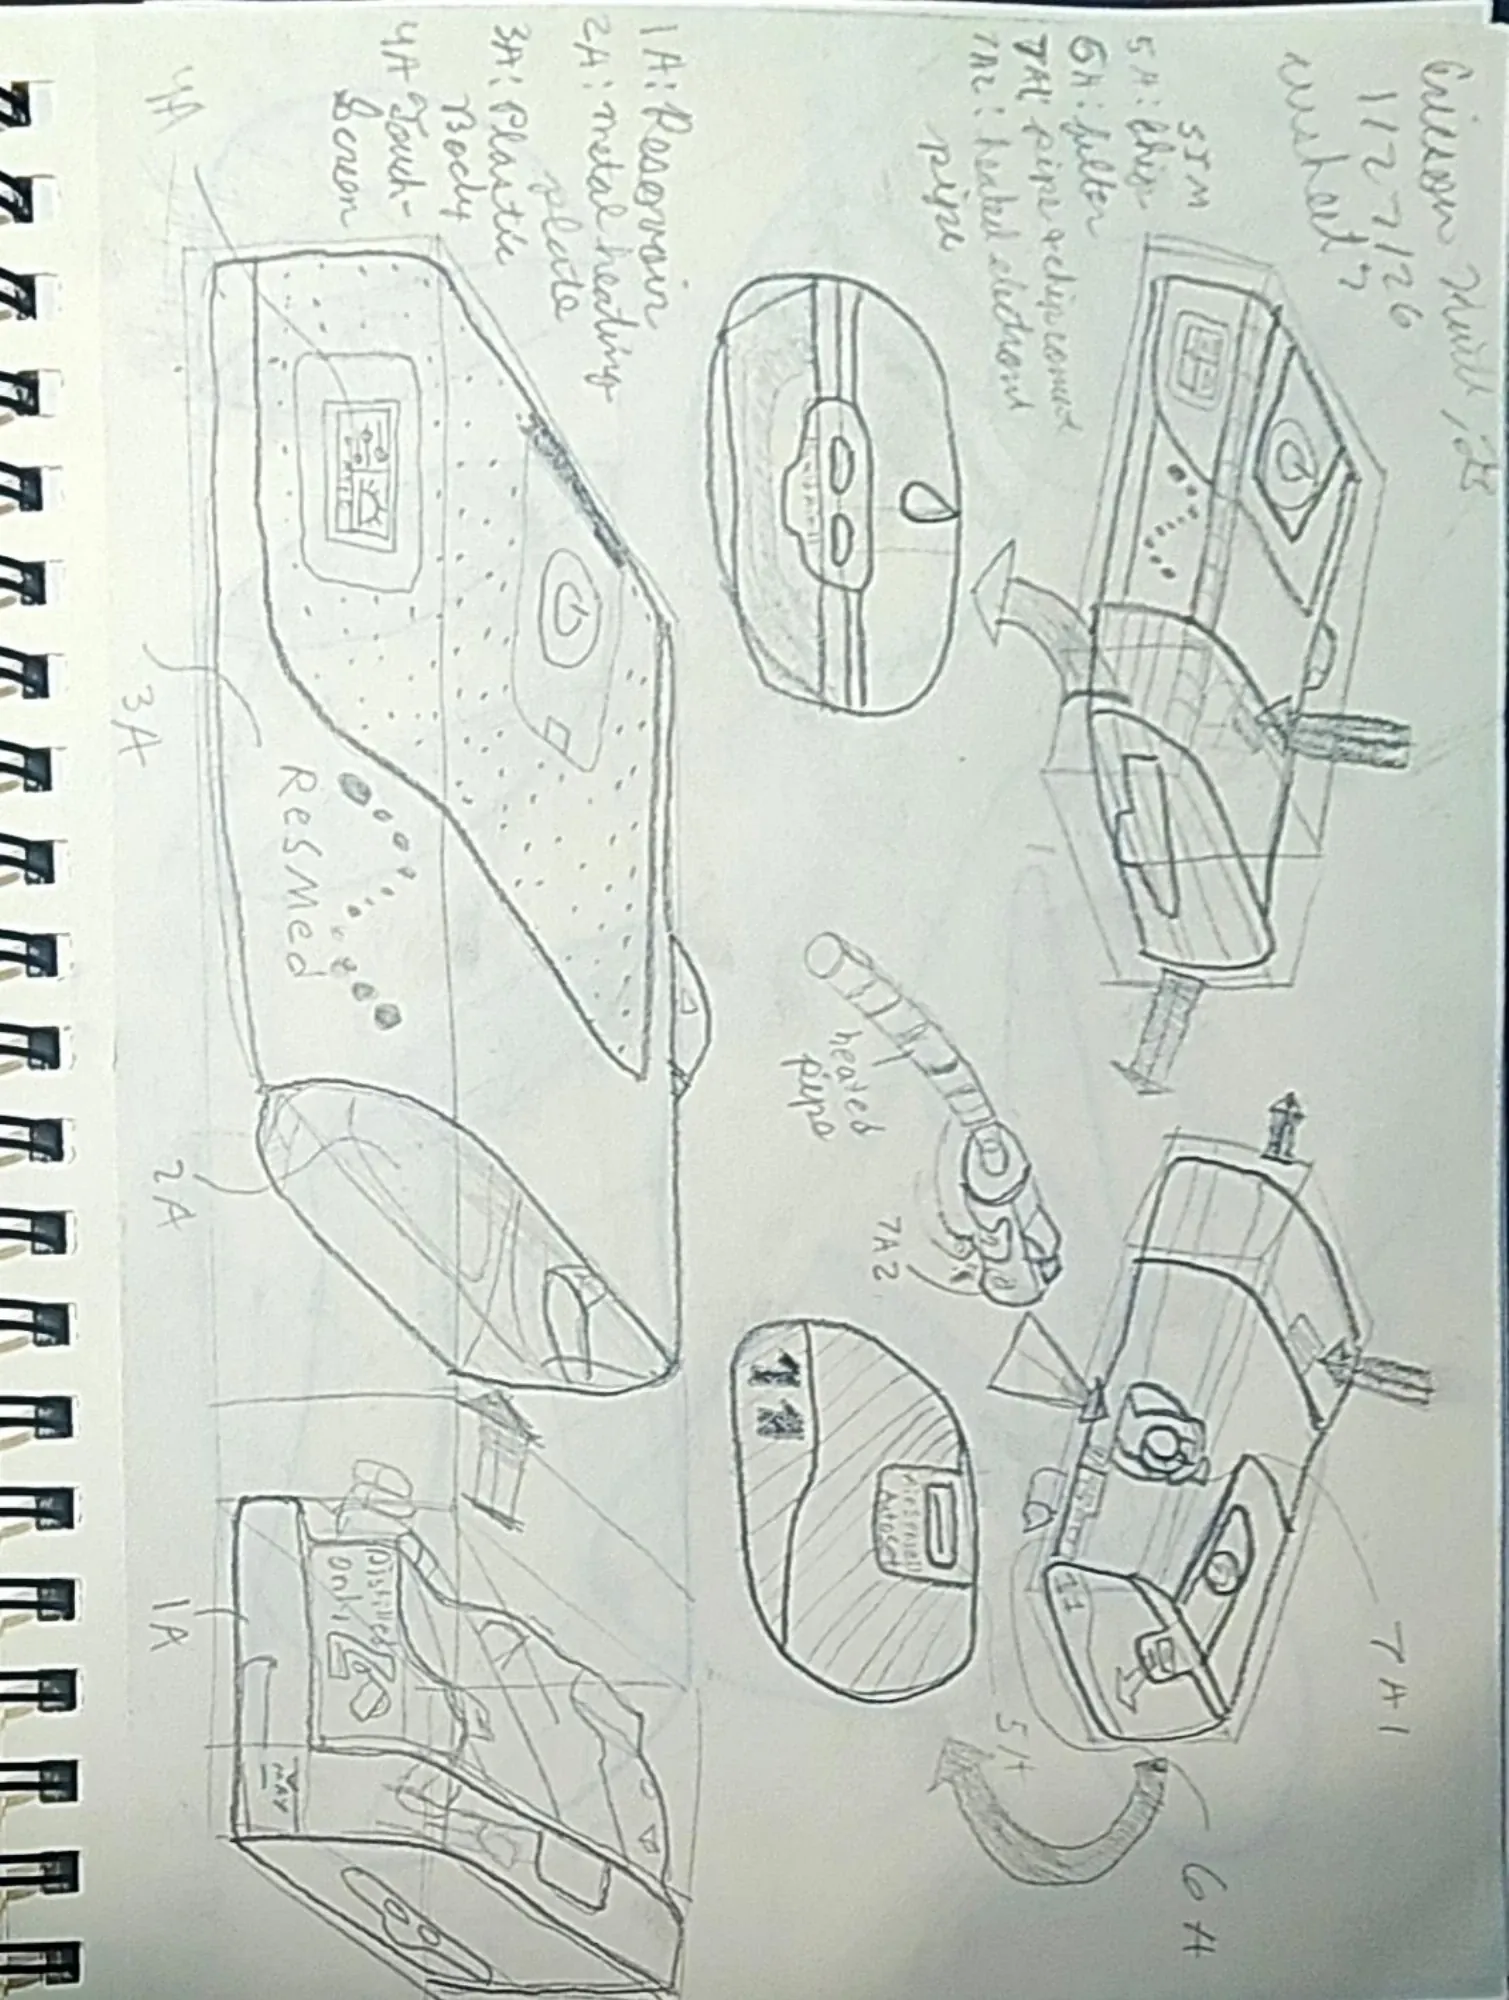
Technical Drawing
Combined multiple techniques, arrows, boxing, perspective, sizing ratios, shading hierarchy, etc. to create effective drawings as seen in the drawing of my CPAP to the right.
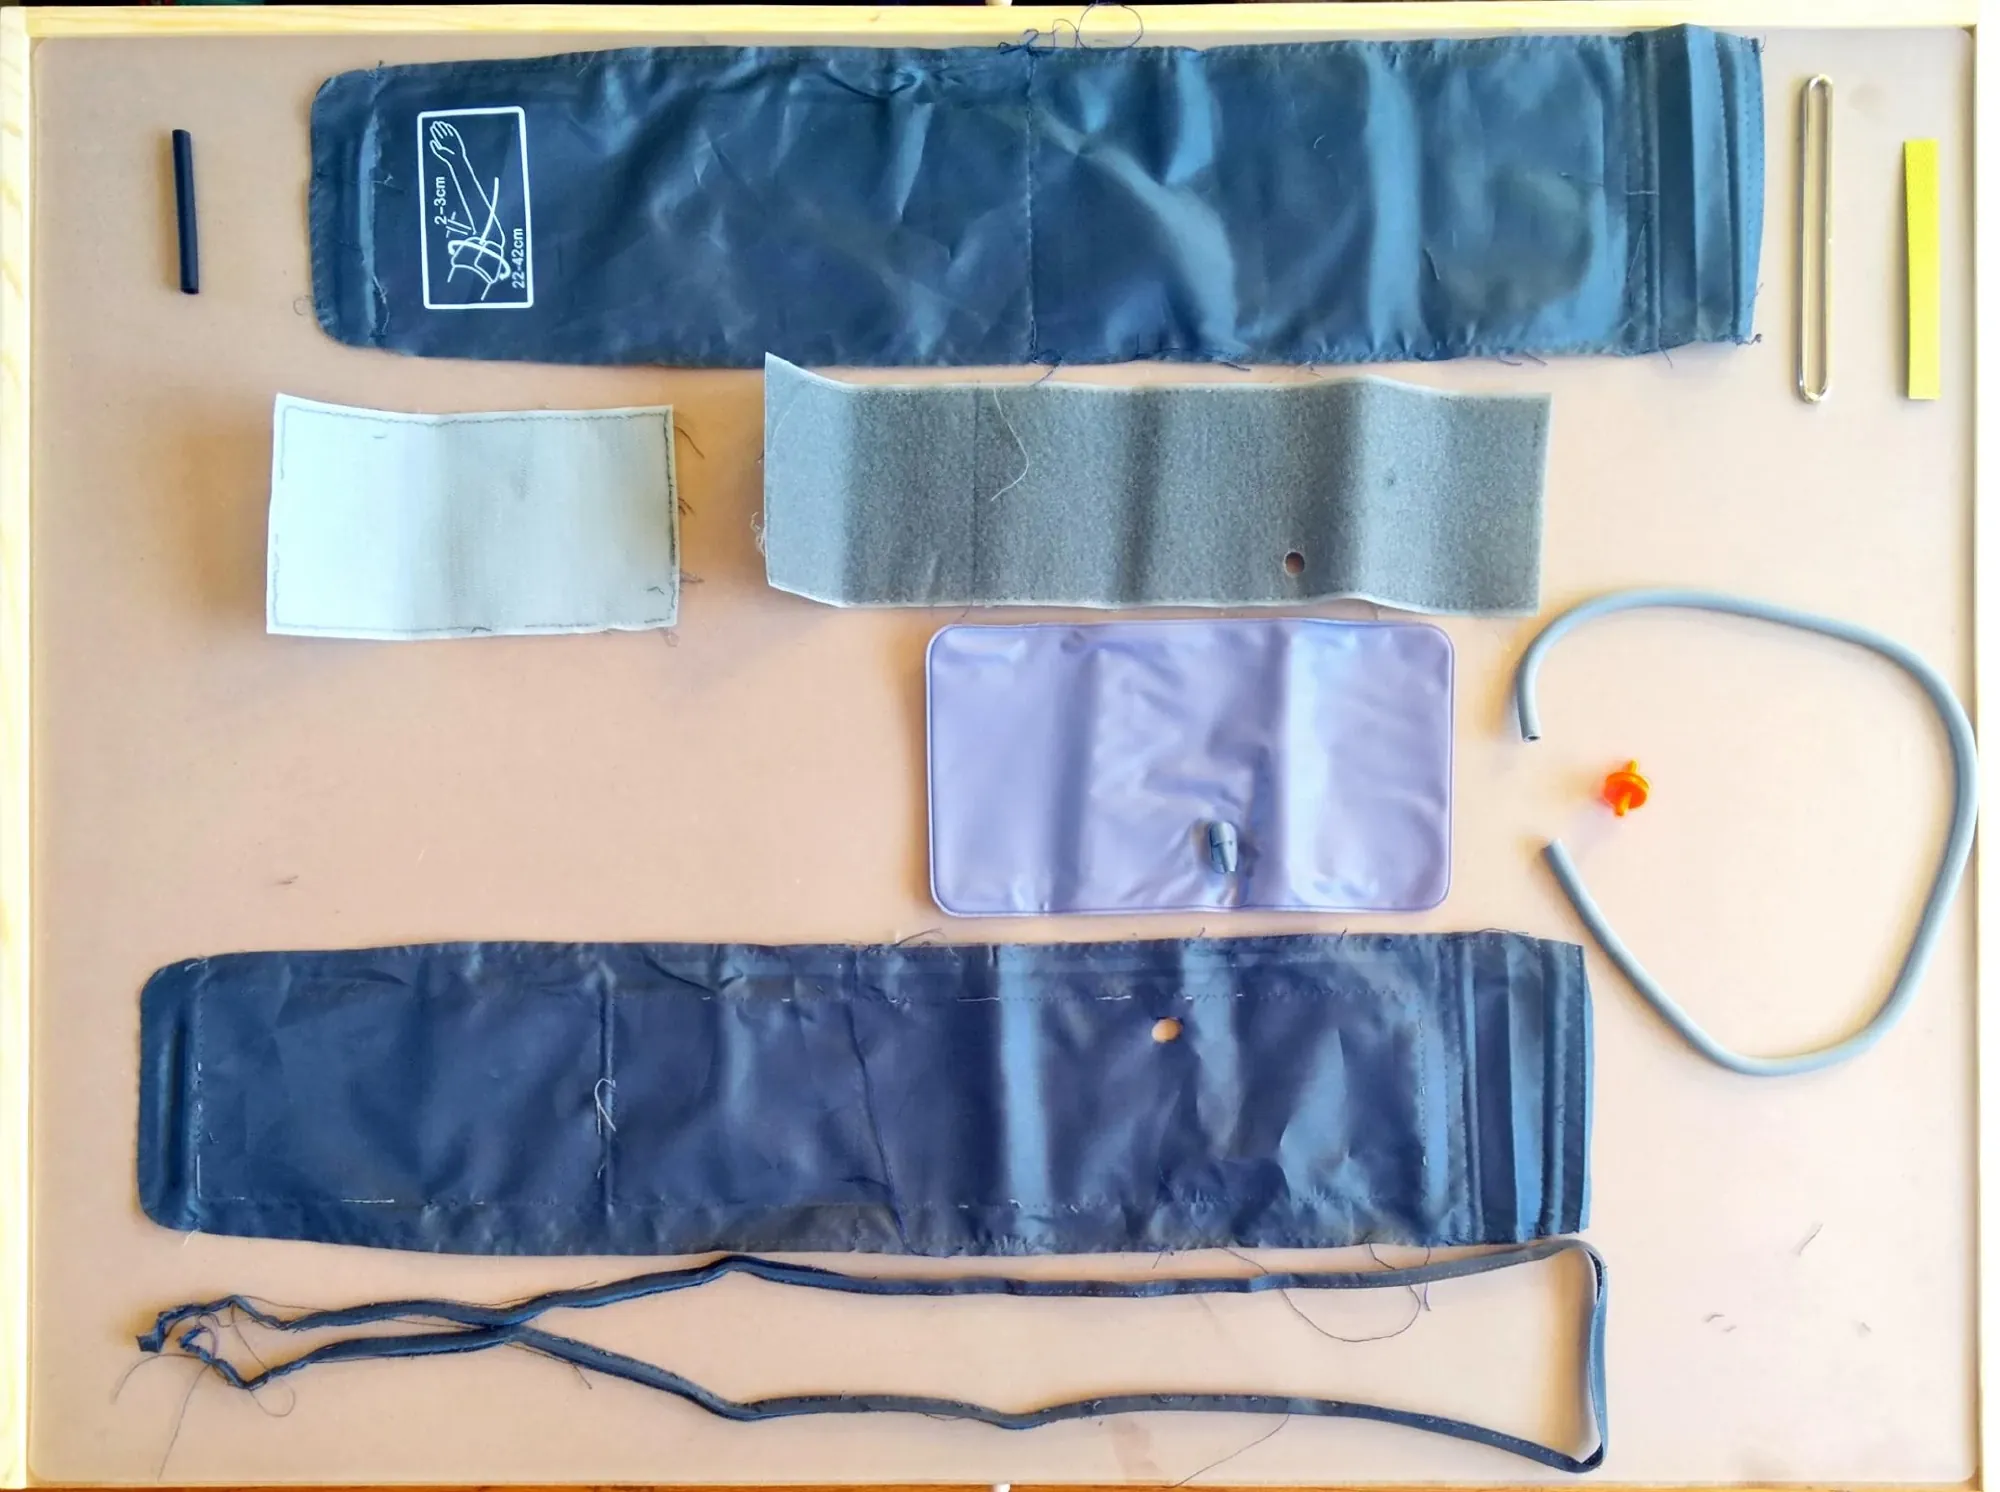
Product Photography
Learned a variety of ways to take pictures of projects including but not limited to hero shots, knolled shots, correct use of cameras, lighting, etc.
Foam Core Prototyping
Learned a variety of techniques for quick prototyping utilizing foam core and hot glue. The image to the right is a 1:1 ratio of my Resmed air sense 11 CPAP reservoir made in foam core.
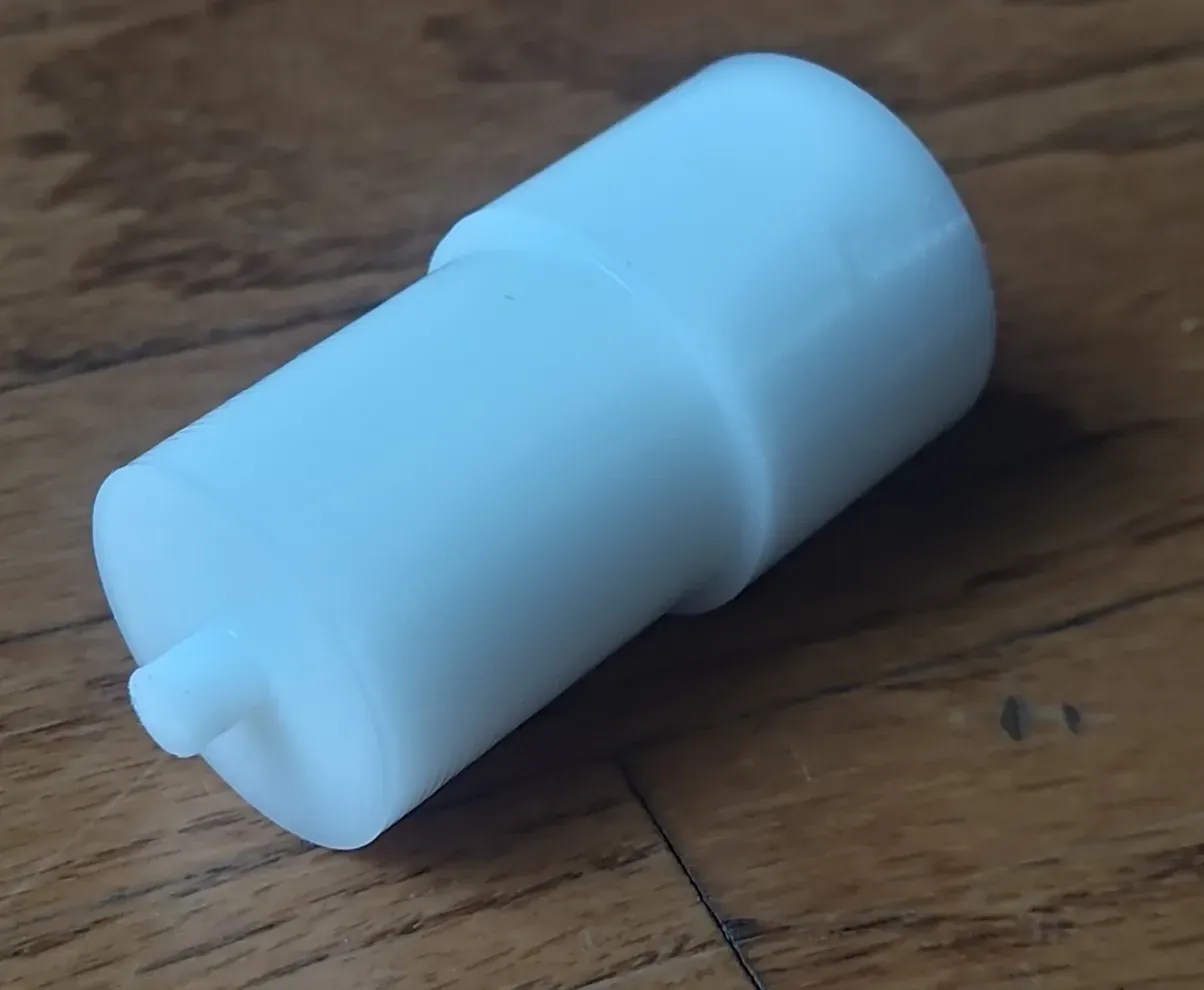
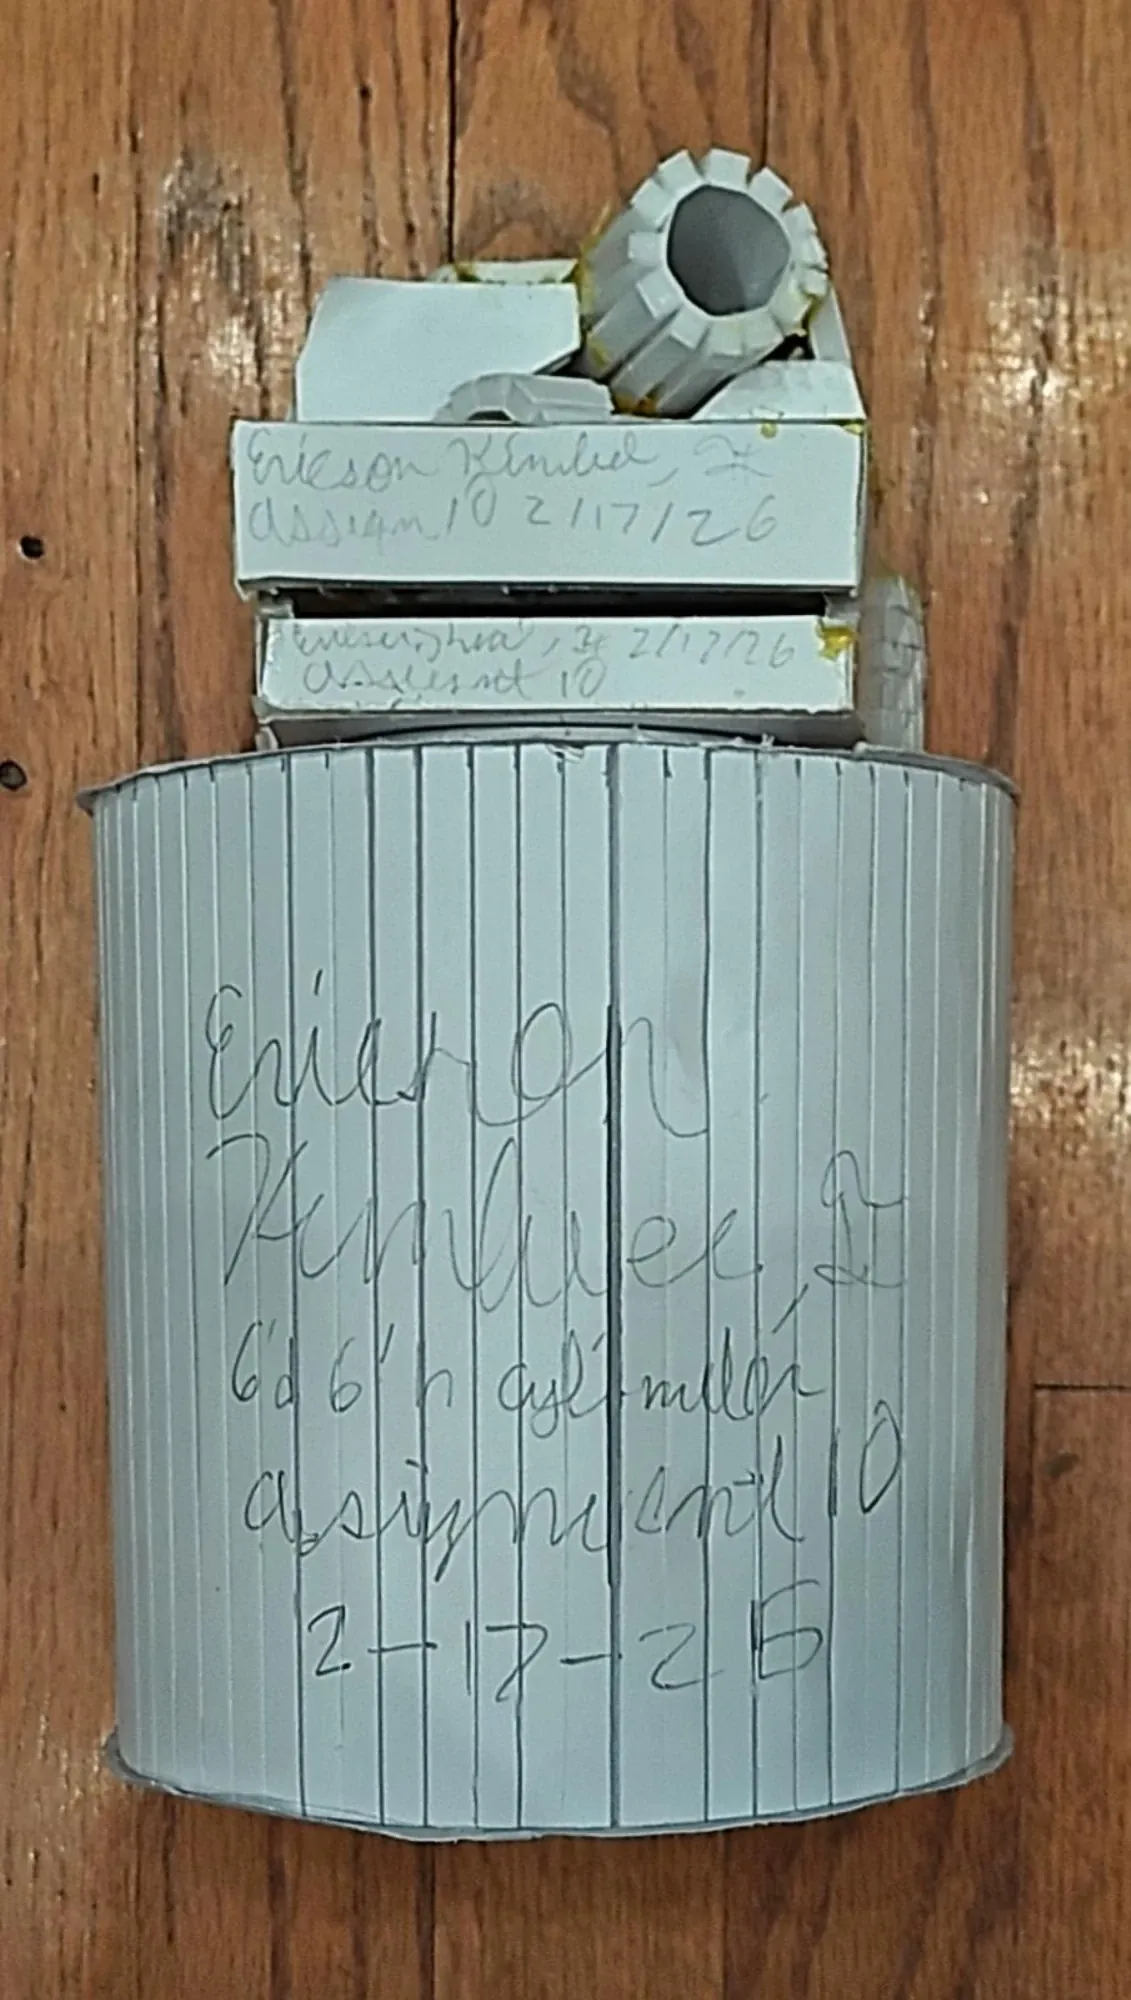
Manual Machining
Learned how to use lathe and drill press and made the shape shown to the left.
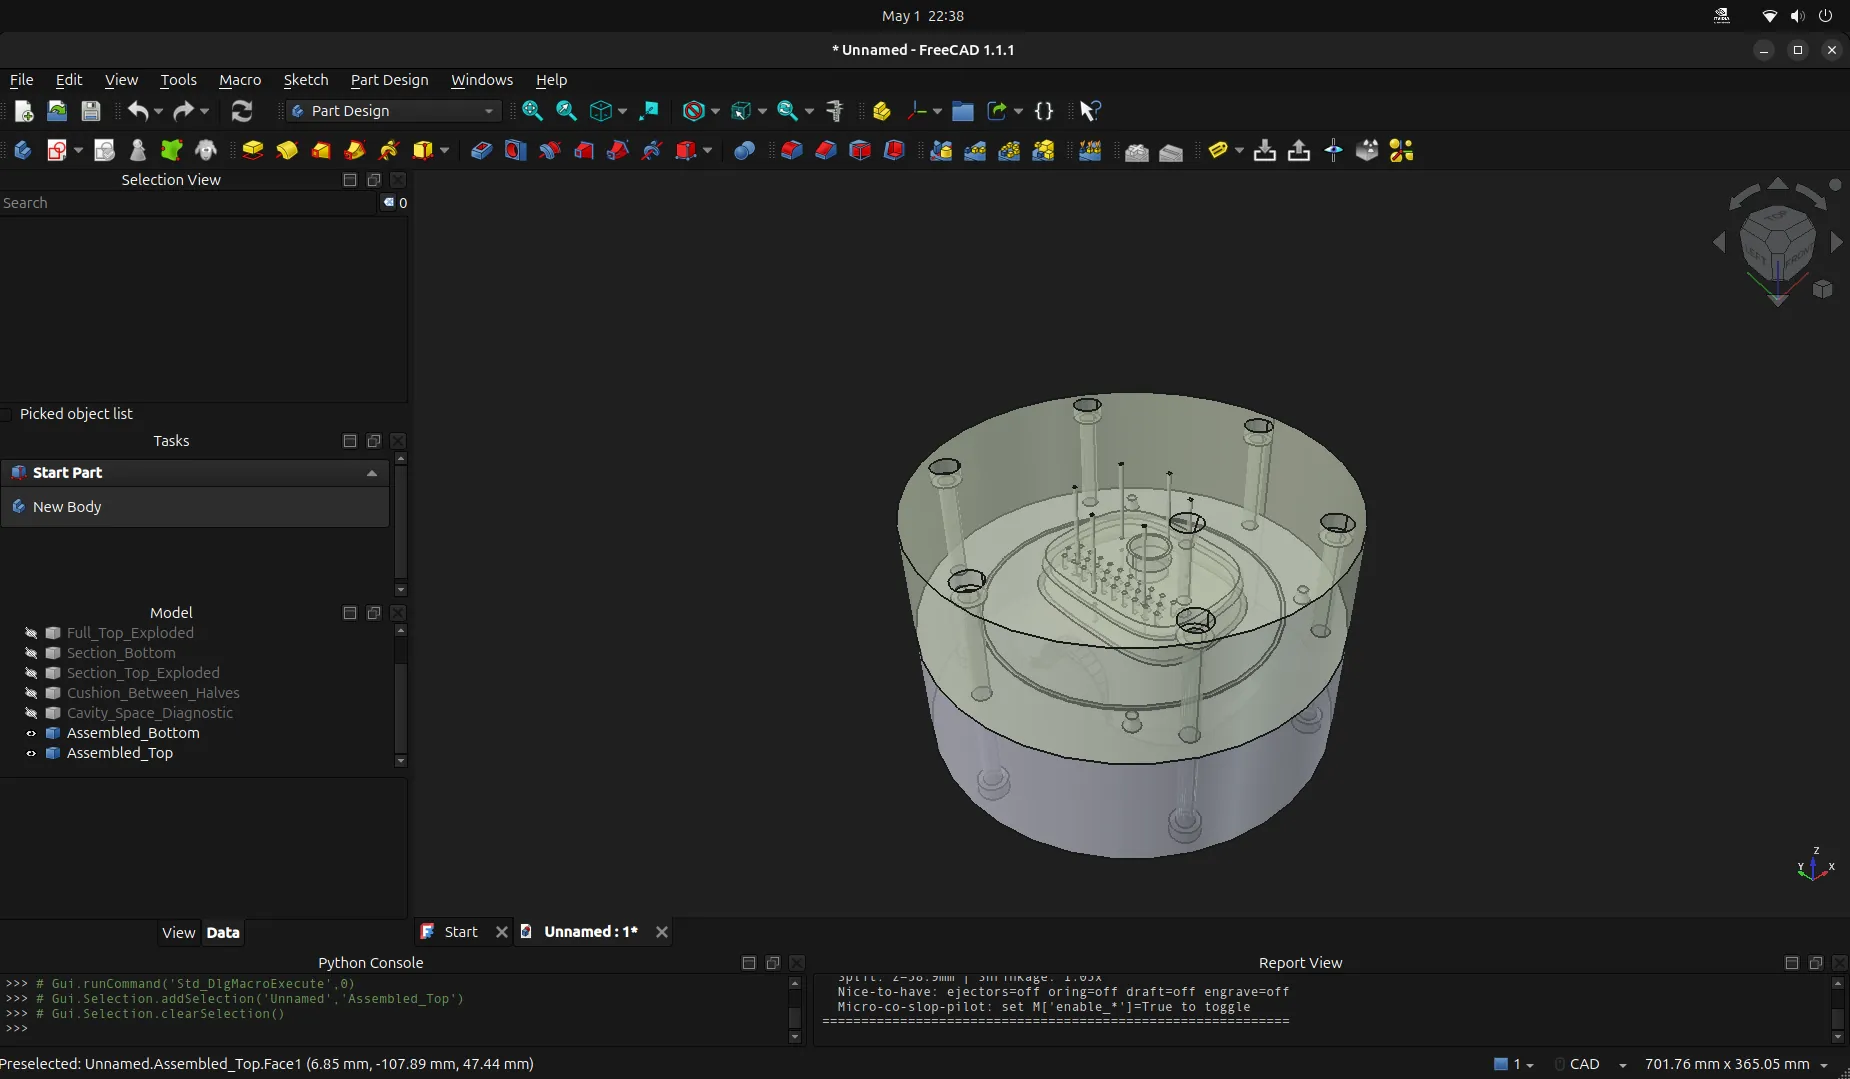
CAD and 3d Printing
Learned how to use Fusion 360, though I prefer using FreeCad as I utilize my own custom software/macro stacks I make like my molding algorithm and Local AI Cad Assistant. Shown to the left is an early AI generated CPAP mask in my custom mold algorithm.
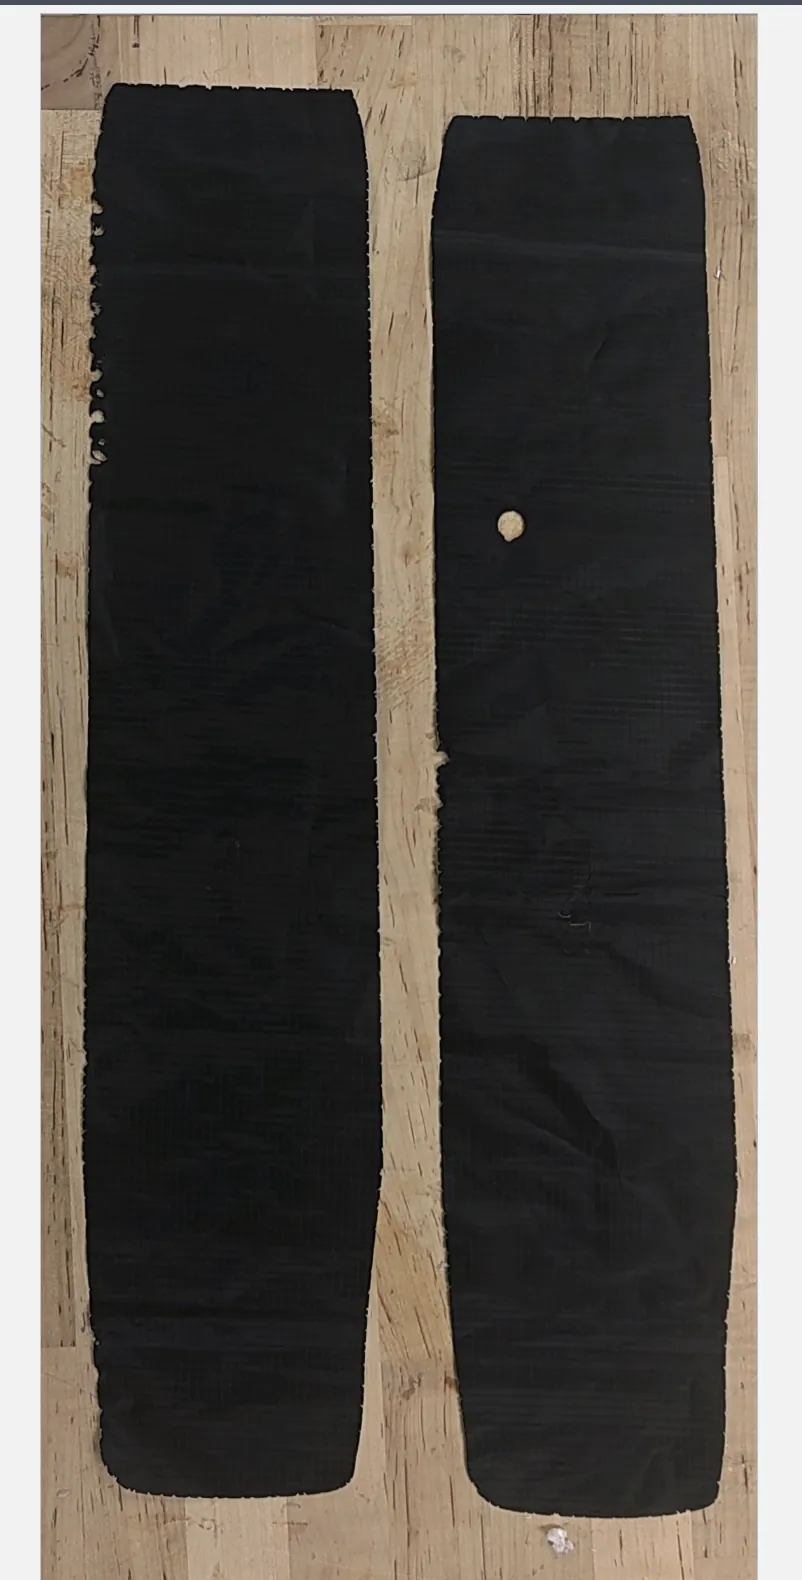
Laser Cutting
Learned how to use a Laser cutter after getting certified in the Pitt Benedum Tree House, and made the two nylon cutout for the blood pressure cuff.
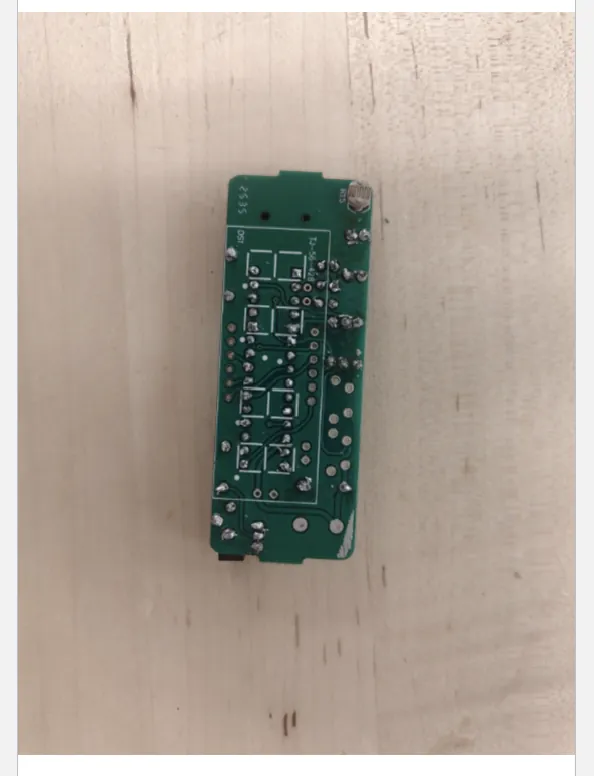
Soldering
Learned simple circuit soldering with a variety of tip types, and made a clock as shown to the right with the soldering joints displayed.
Arduino
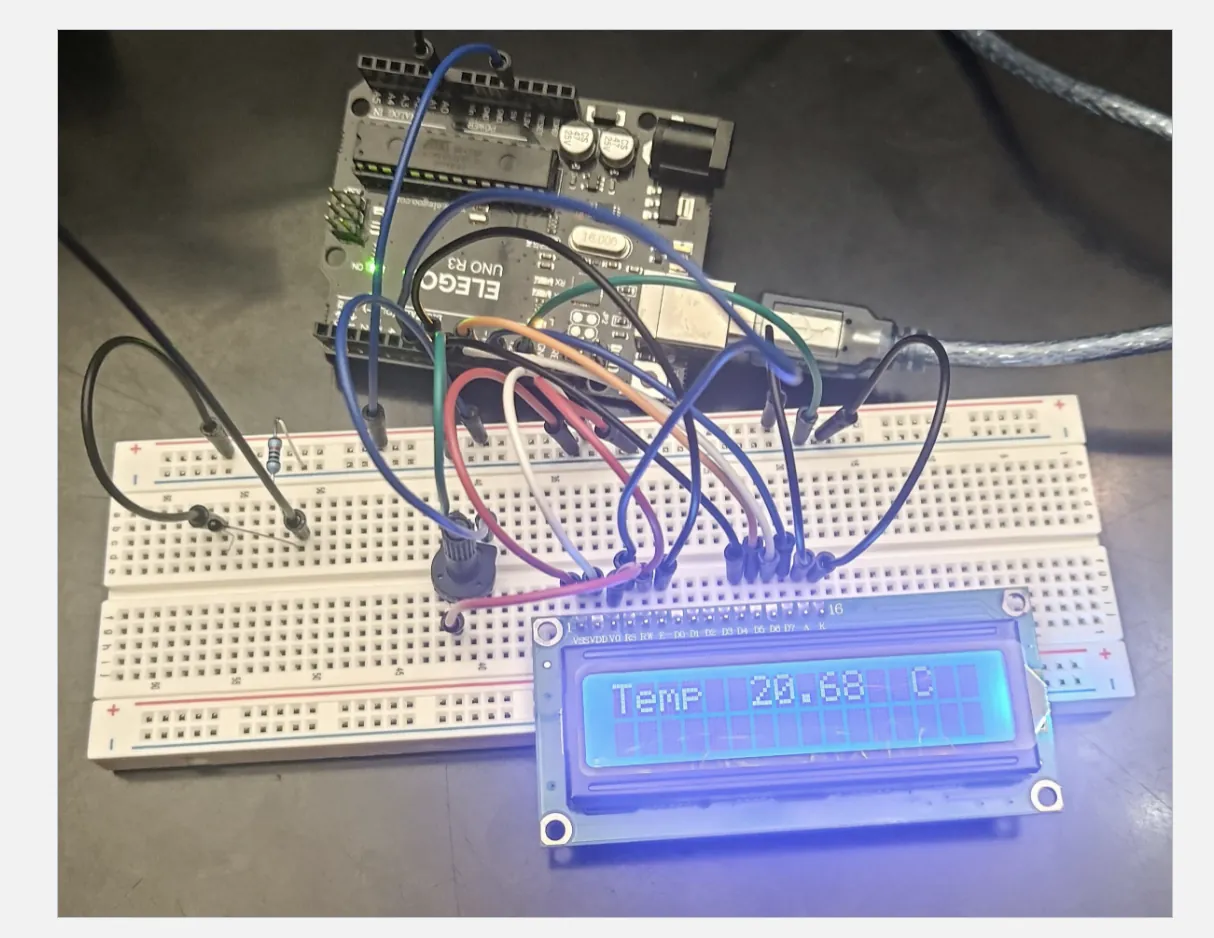
Learned how to build circuits for Arduino, make code, and run code on the Arduino as shown with the temperature probe and display to the left.
Vacuum forming
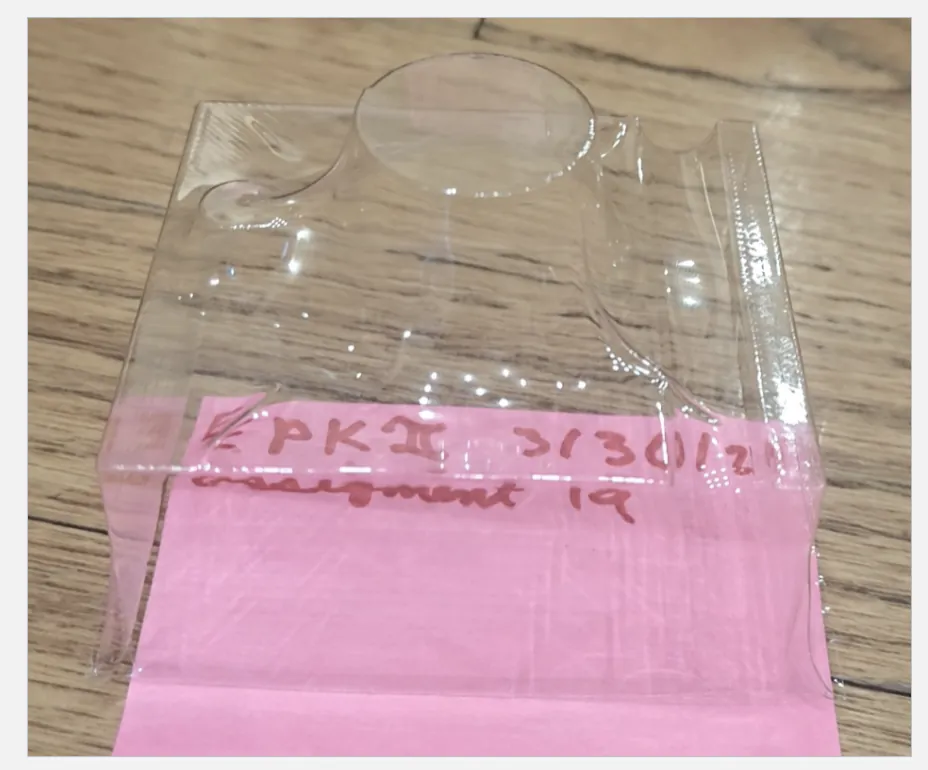
Learned vacuum forming technique, as shown with the vacuum form of a 3d printed object I made myself with the help of my Local AI Cad Assistant.
Silicone molding
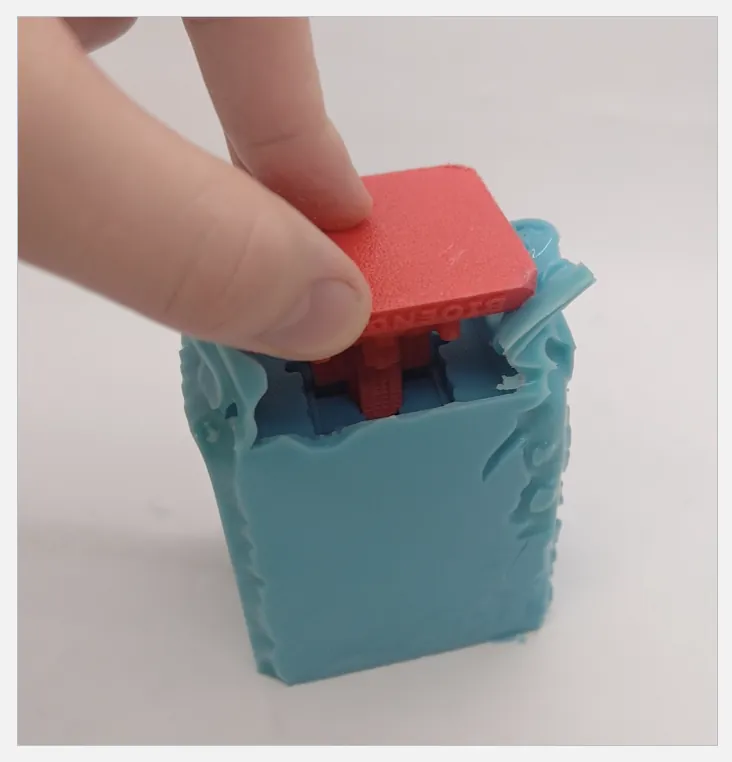
Learned Silicone Molding, by making a box mold out of foam core, placing a 3d printed Cathedral of Learning in it and making a silicone mold from it. From here a Resin Cathedral of Learning Replica was made with the silicone mold.
Prototyping canvas
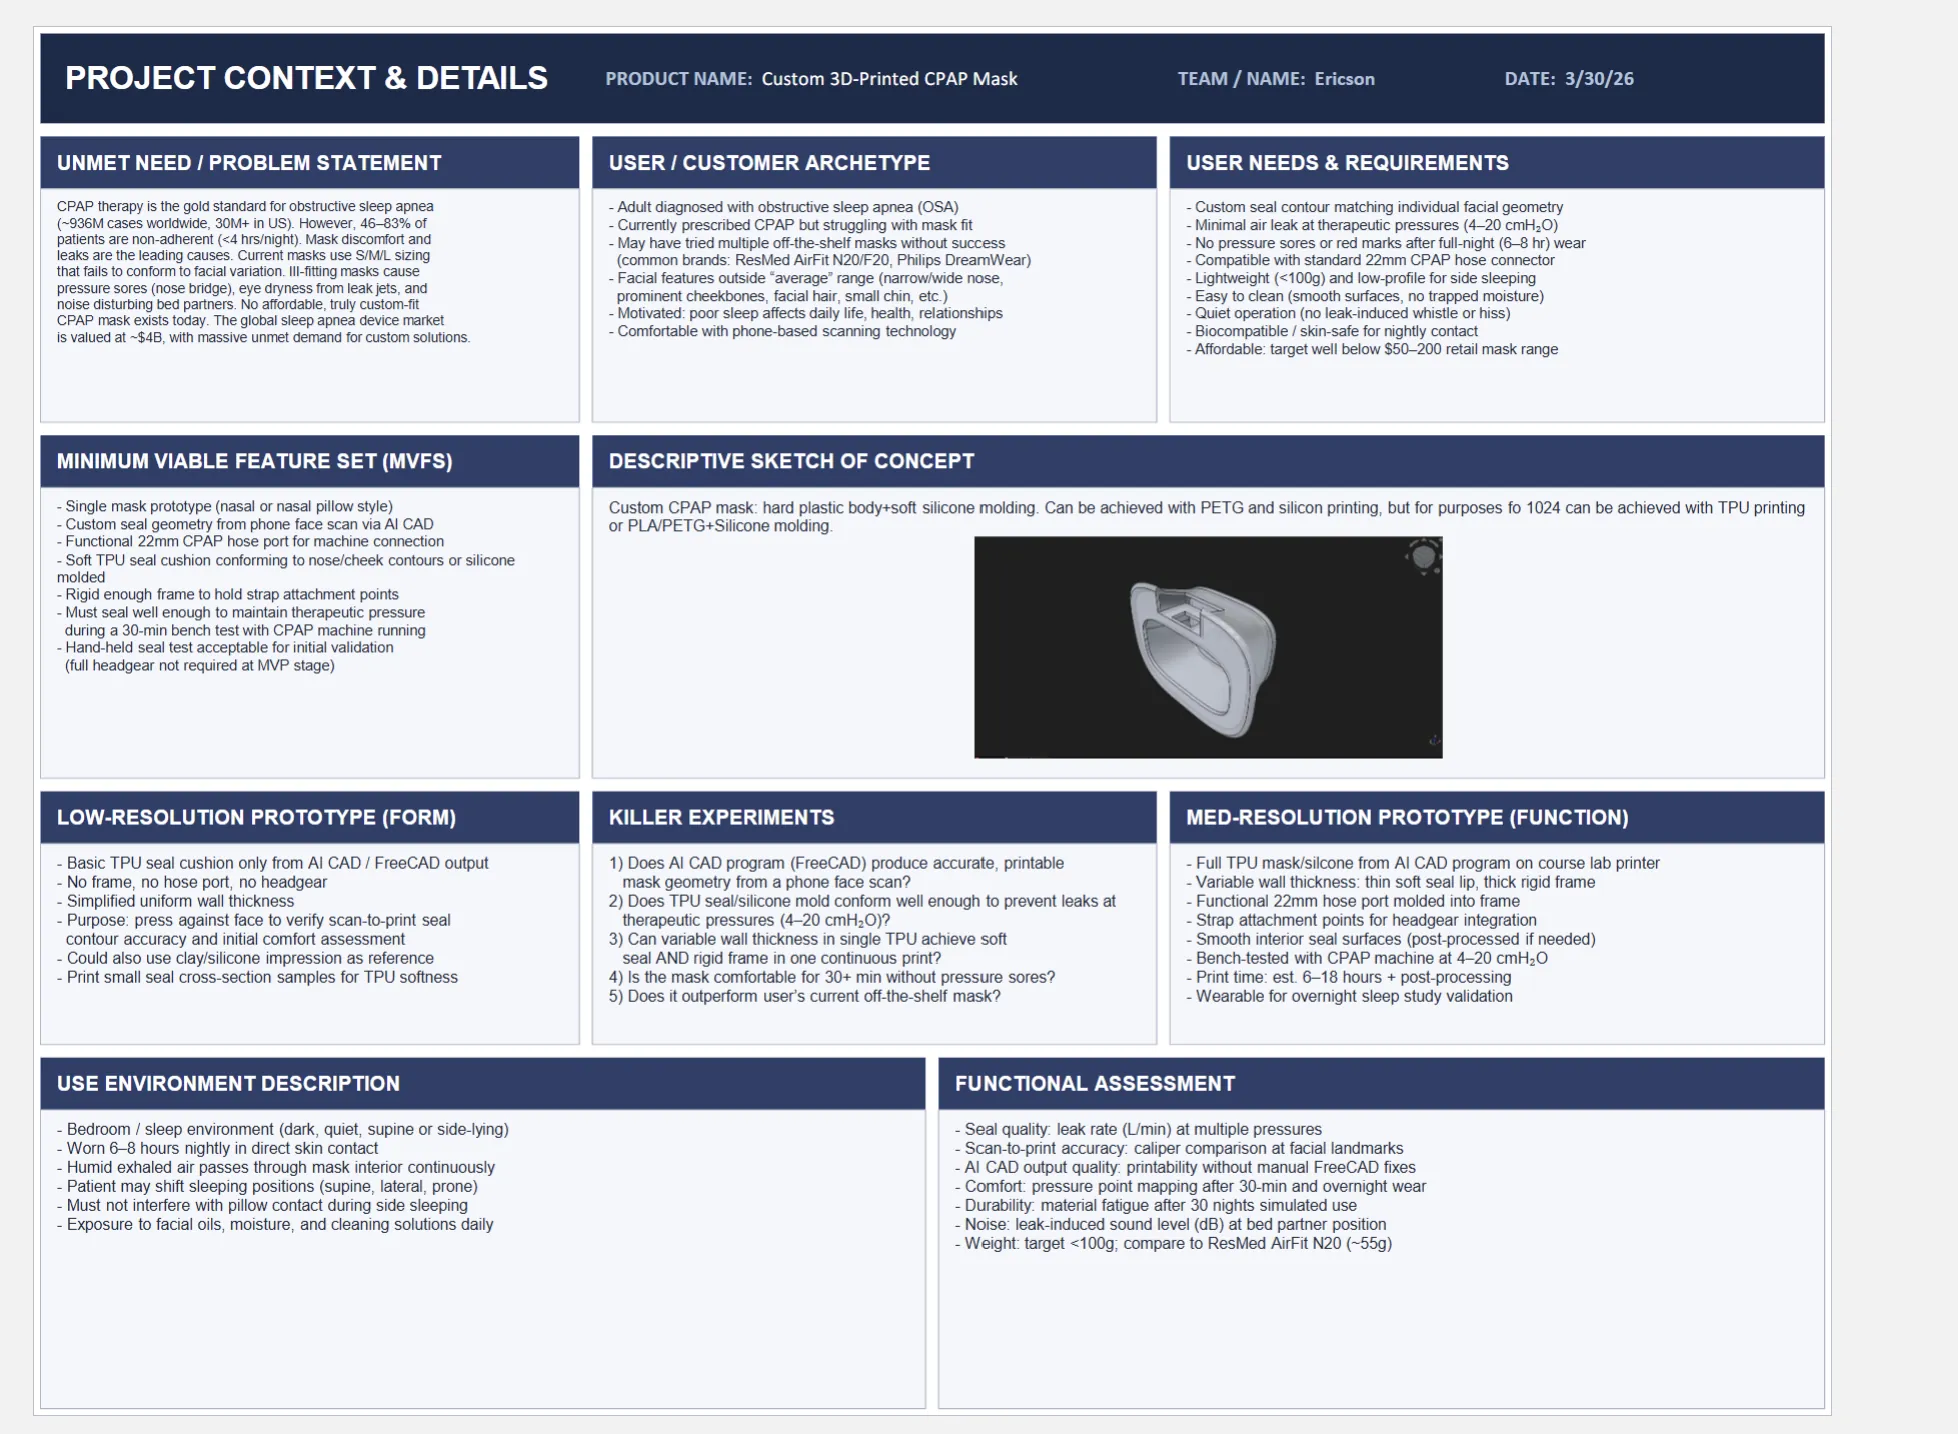
Learned how to Prototype Canvas for projects. As shown to the right is a page of the Prototype Canvas for the AI generated custom fit CPAP mask design which was my term project for BIOENG 1024.
AI optimized CPAP Mask Design (Term Project)
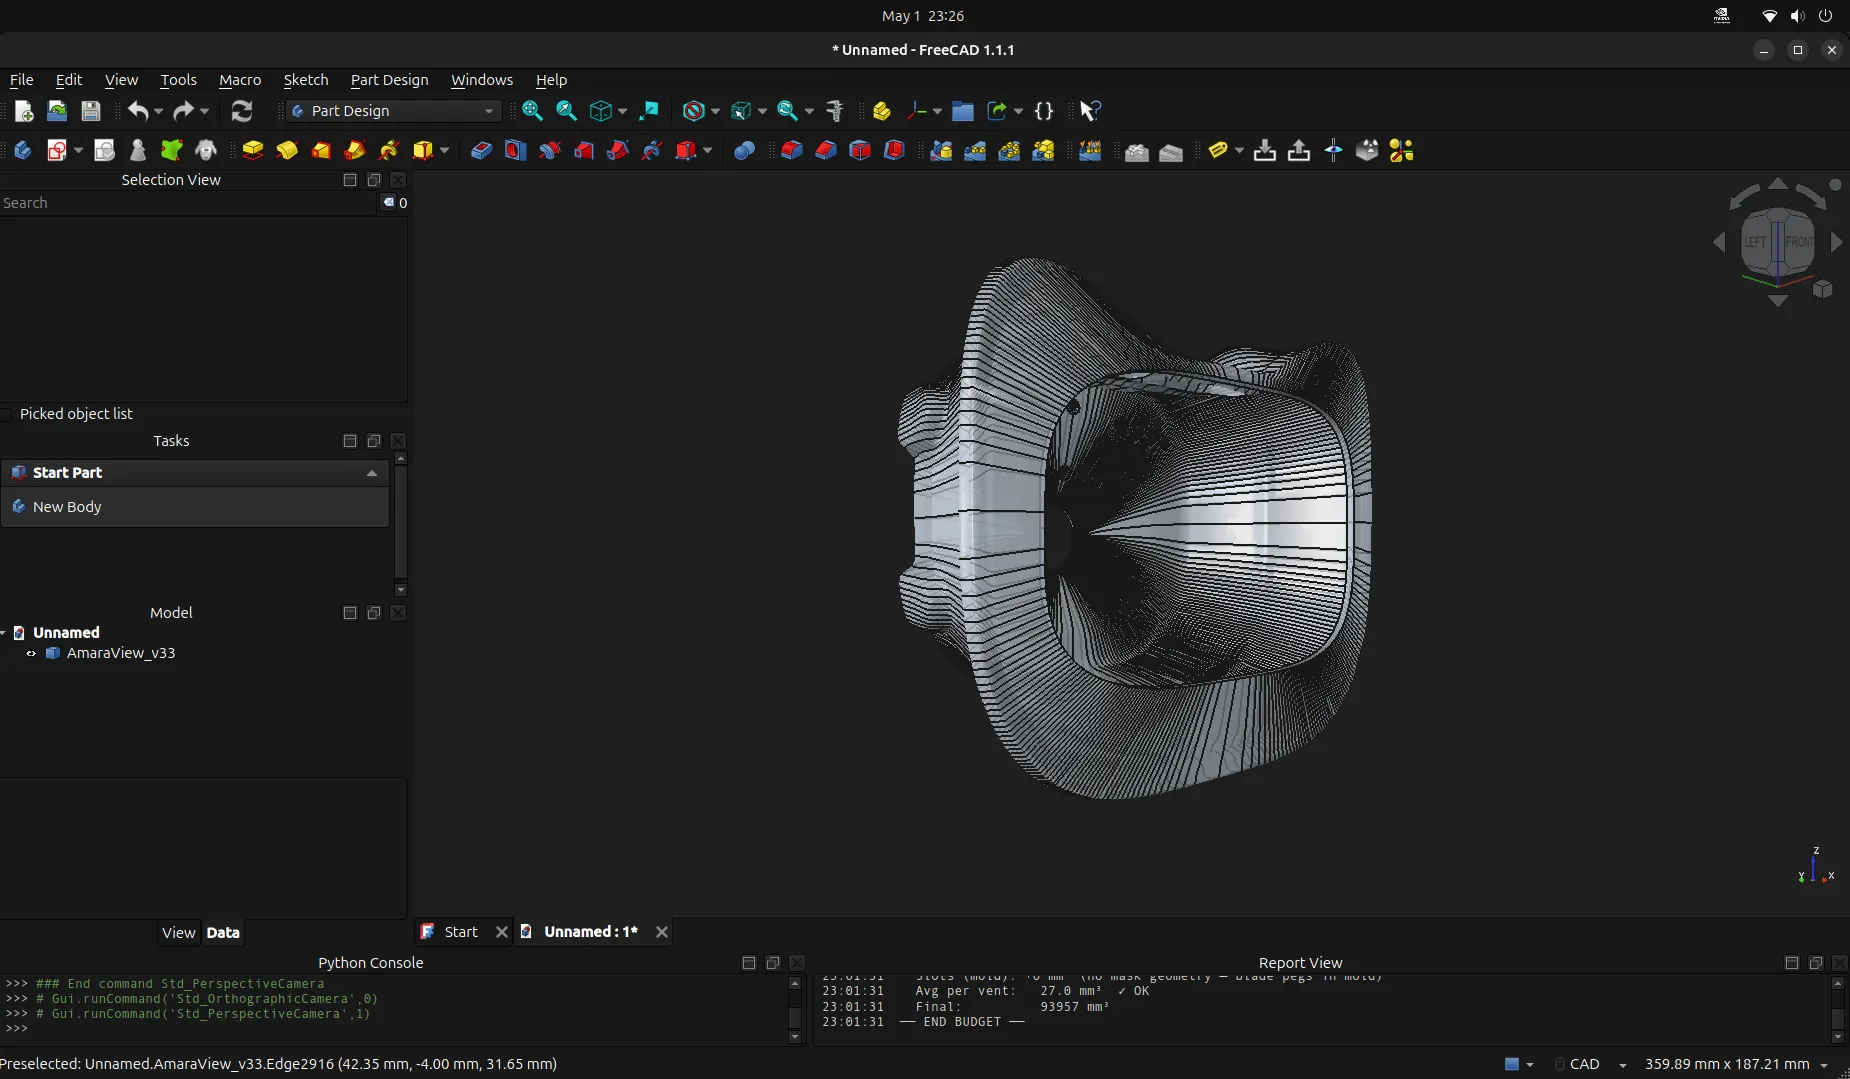
CAD design and mold algorithm
After 1584 design iterations (autonomous local, autonomous frontier, and local manual), a custom 3d mask was made in FreeCad with my facial dimensions. Originally a face scan algorithm pipeline was going to be used, but the other mathematical driven features- trumpet vents, airflow stability, pressure on face metrics, etc. were more important to implement.
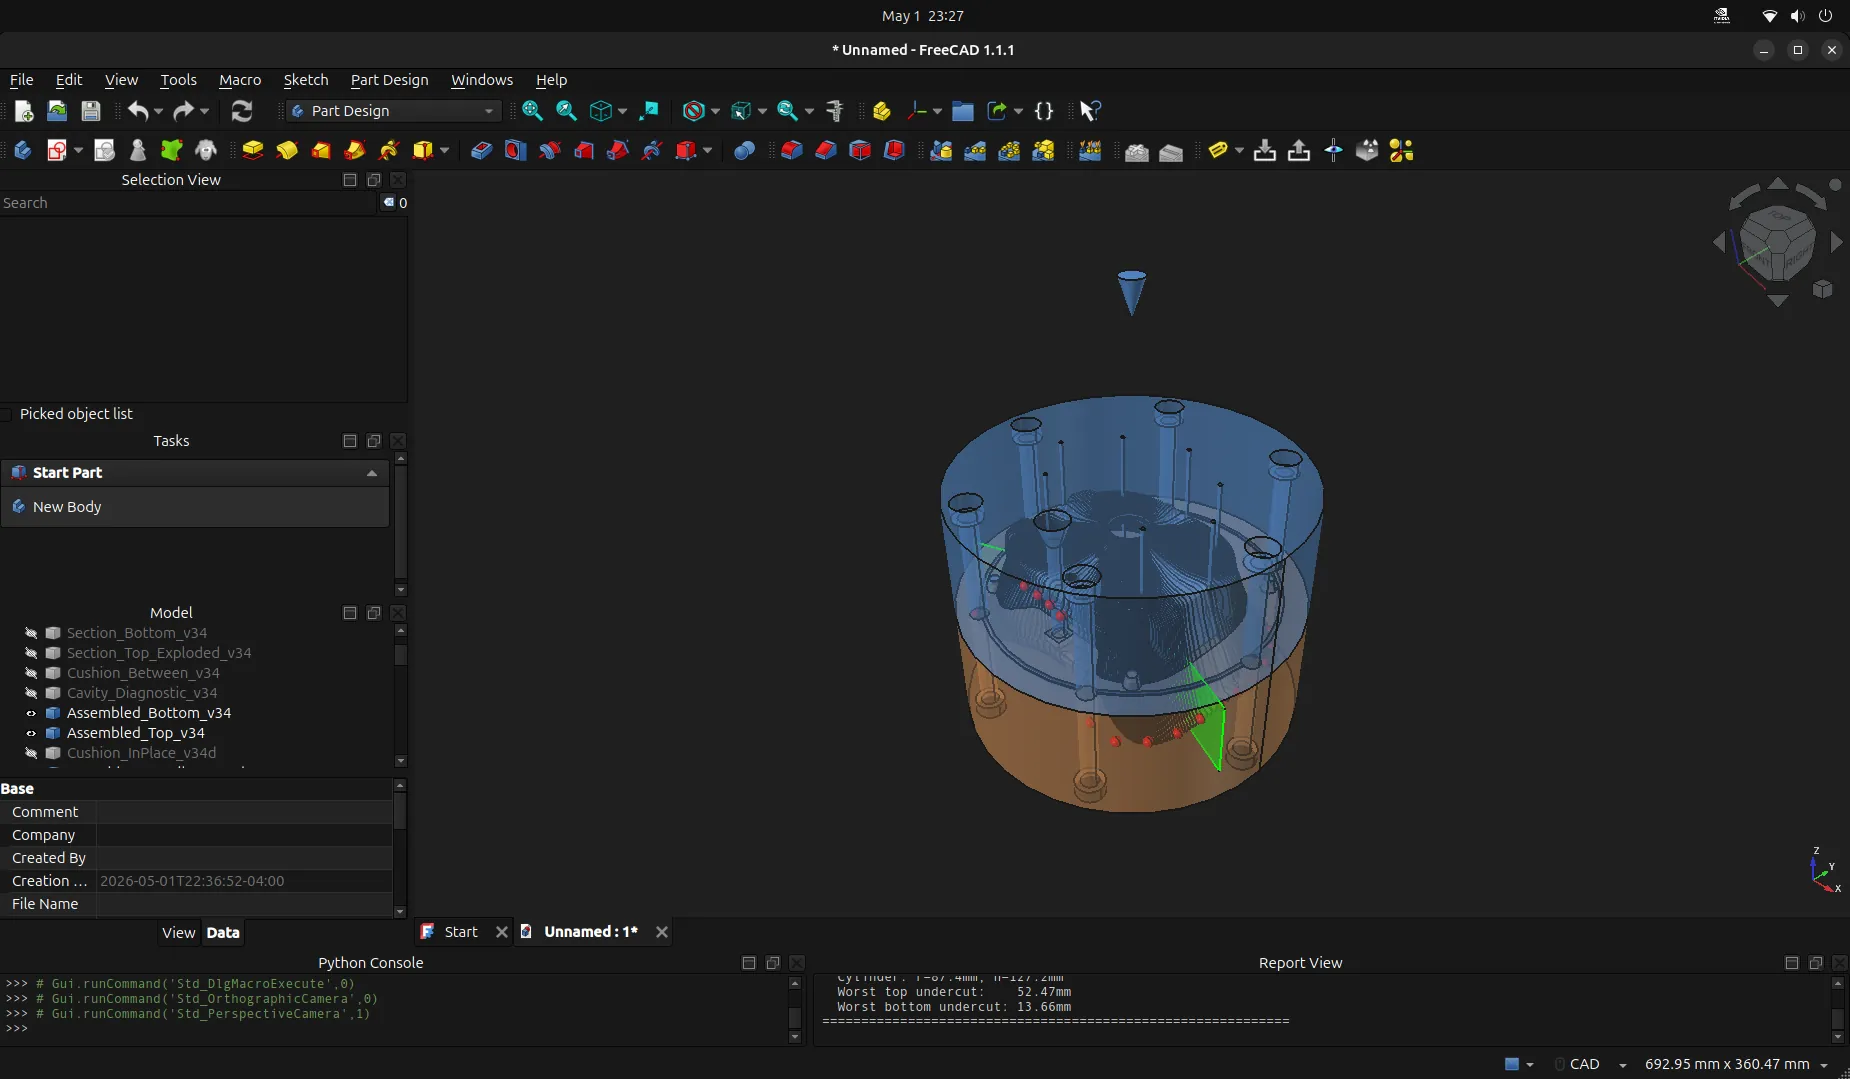
Under-cut identification algorithm
Created a custom algorithm to identify under cut locations (red dots) and the best angle to remove sections at which drove future steps of the molding process to ensure access into the mold and no tearing of the mask after molding
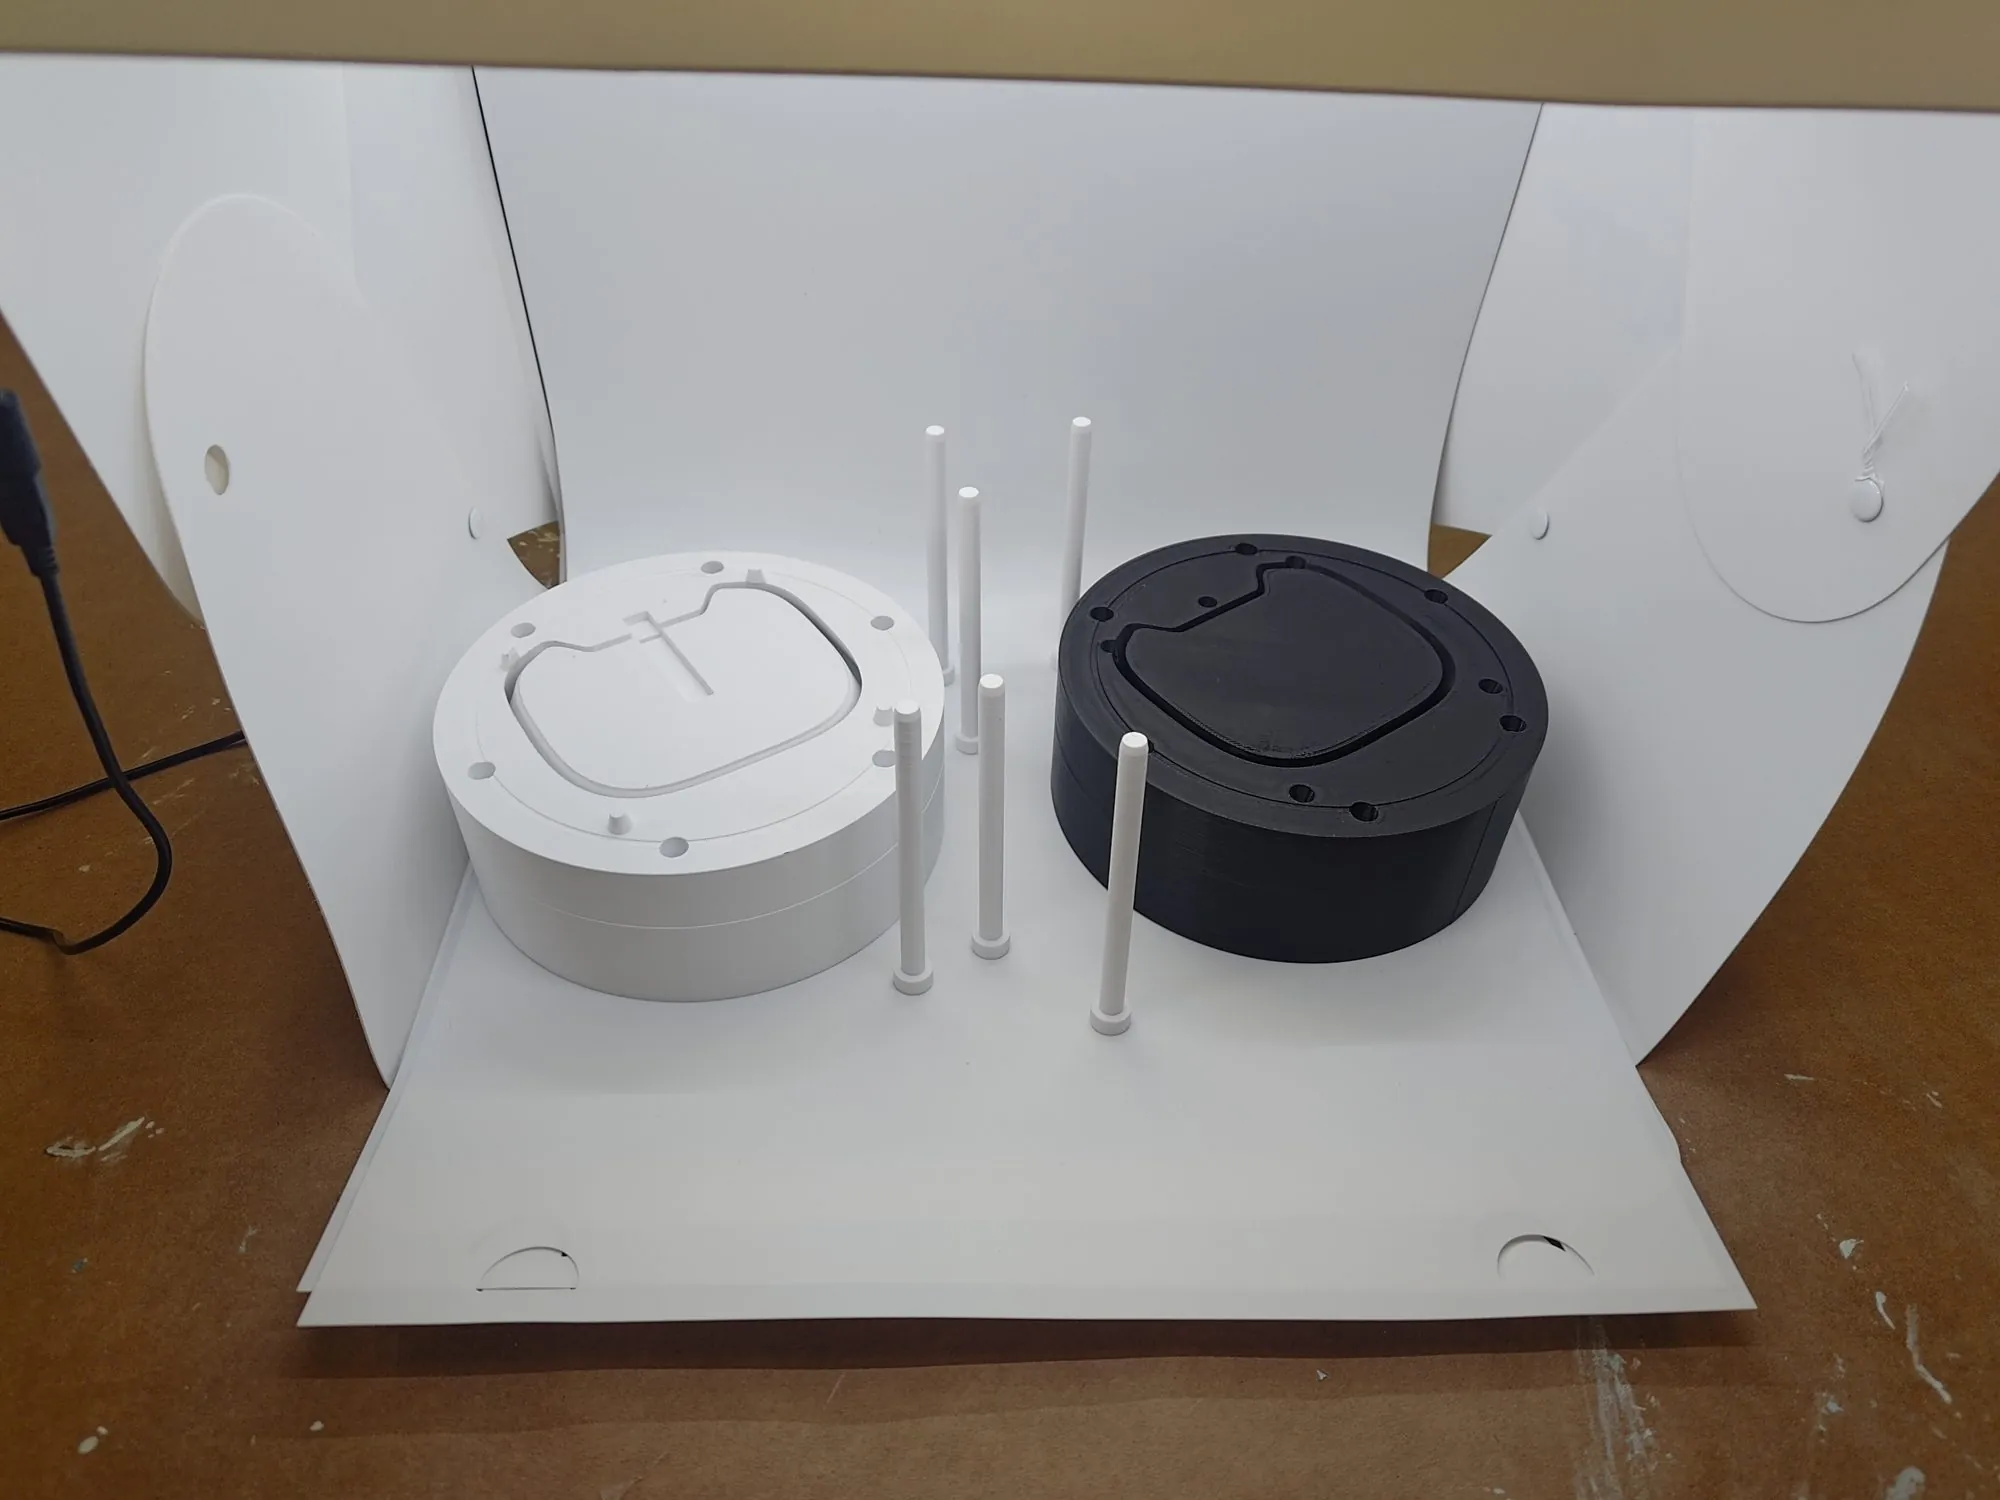
Mold 3d Printing
The two halves of the custom AI generated mold are shown to the left, with pins to secure areas in after cutting certain section out.
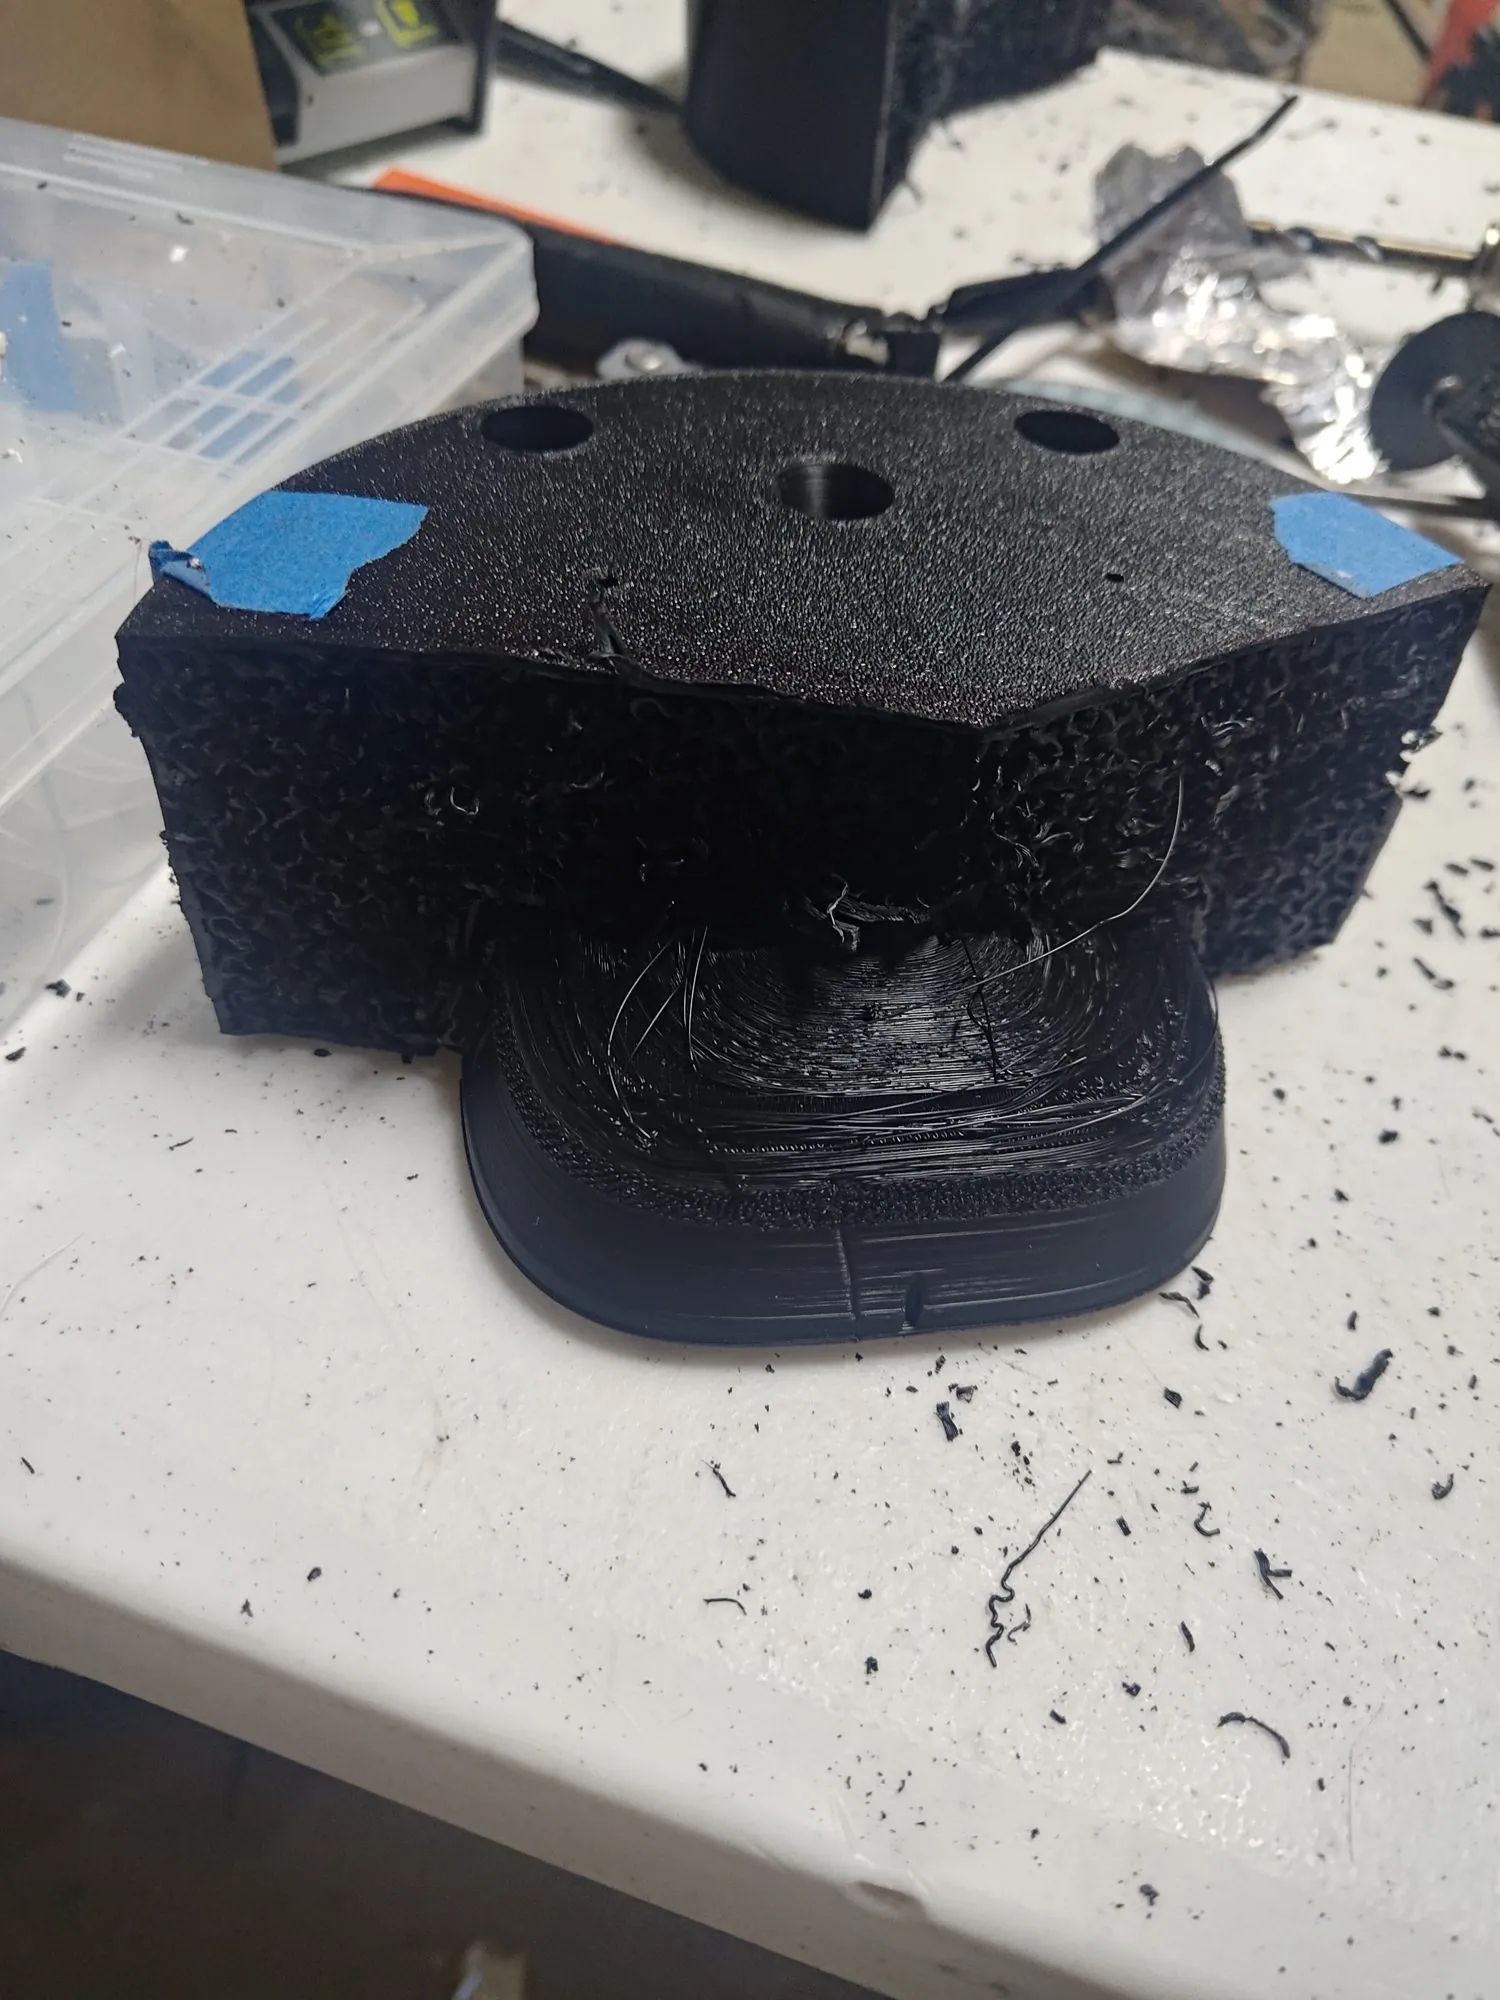
Mold Disassembly
Due to low quality print from Bambu labs (even with custom strength, arachne, support, speed wall pass etc. settings), and prior mentioned undercuts, the mold had to be cut in a variety of areas to ensure silicone reached those areas, all areas were cleaned up, and it was possible to de-mold the mask.
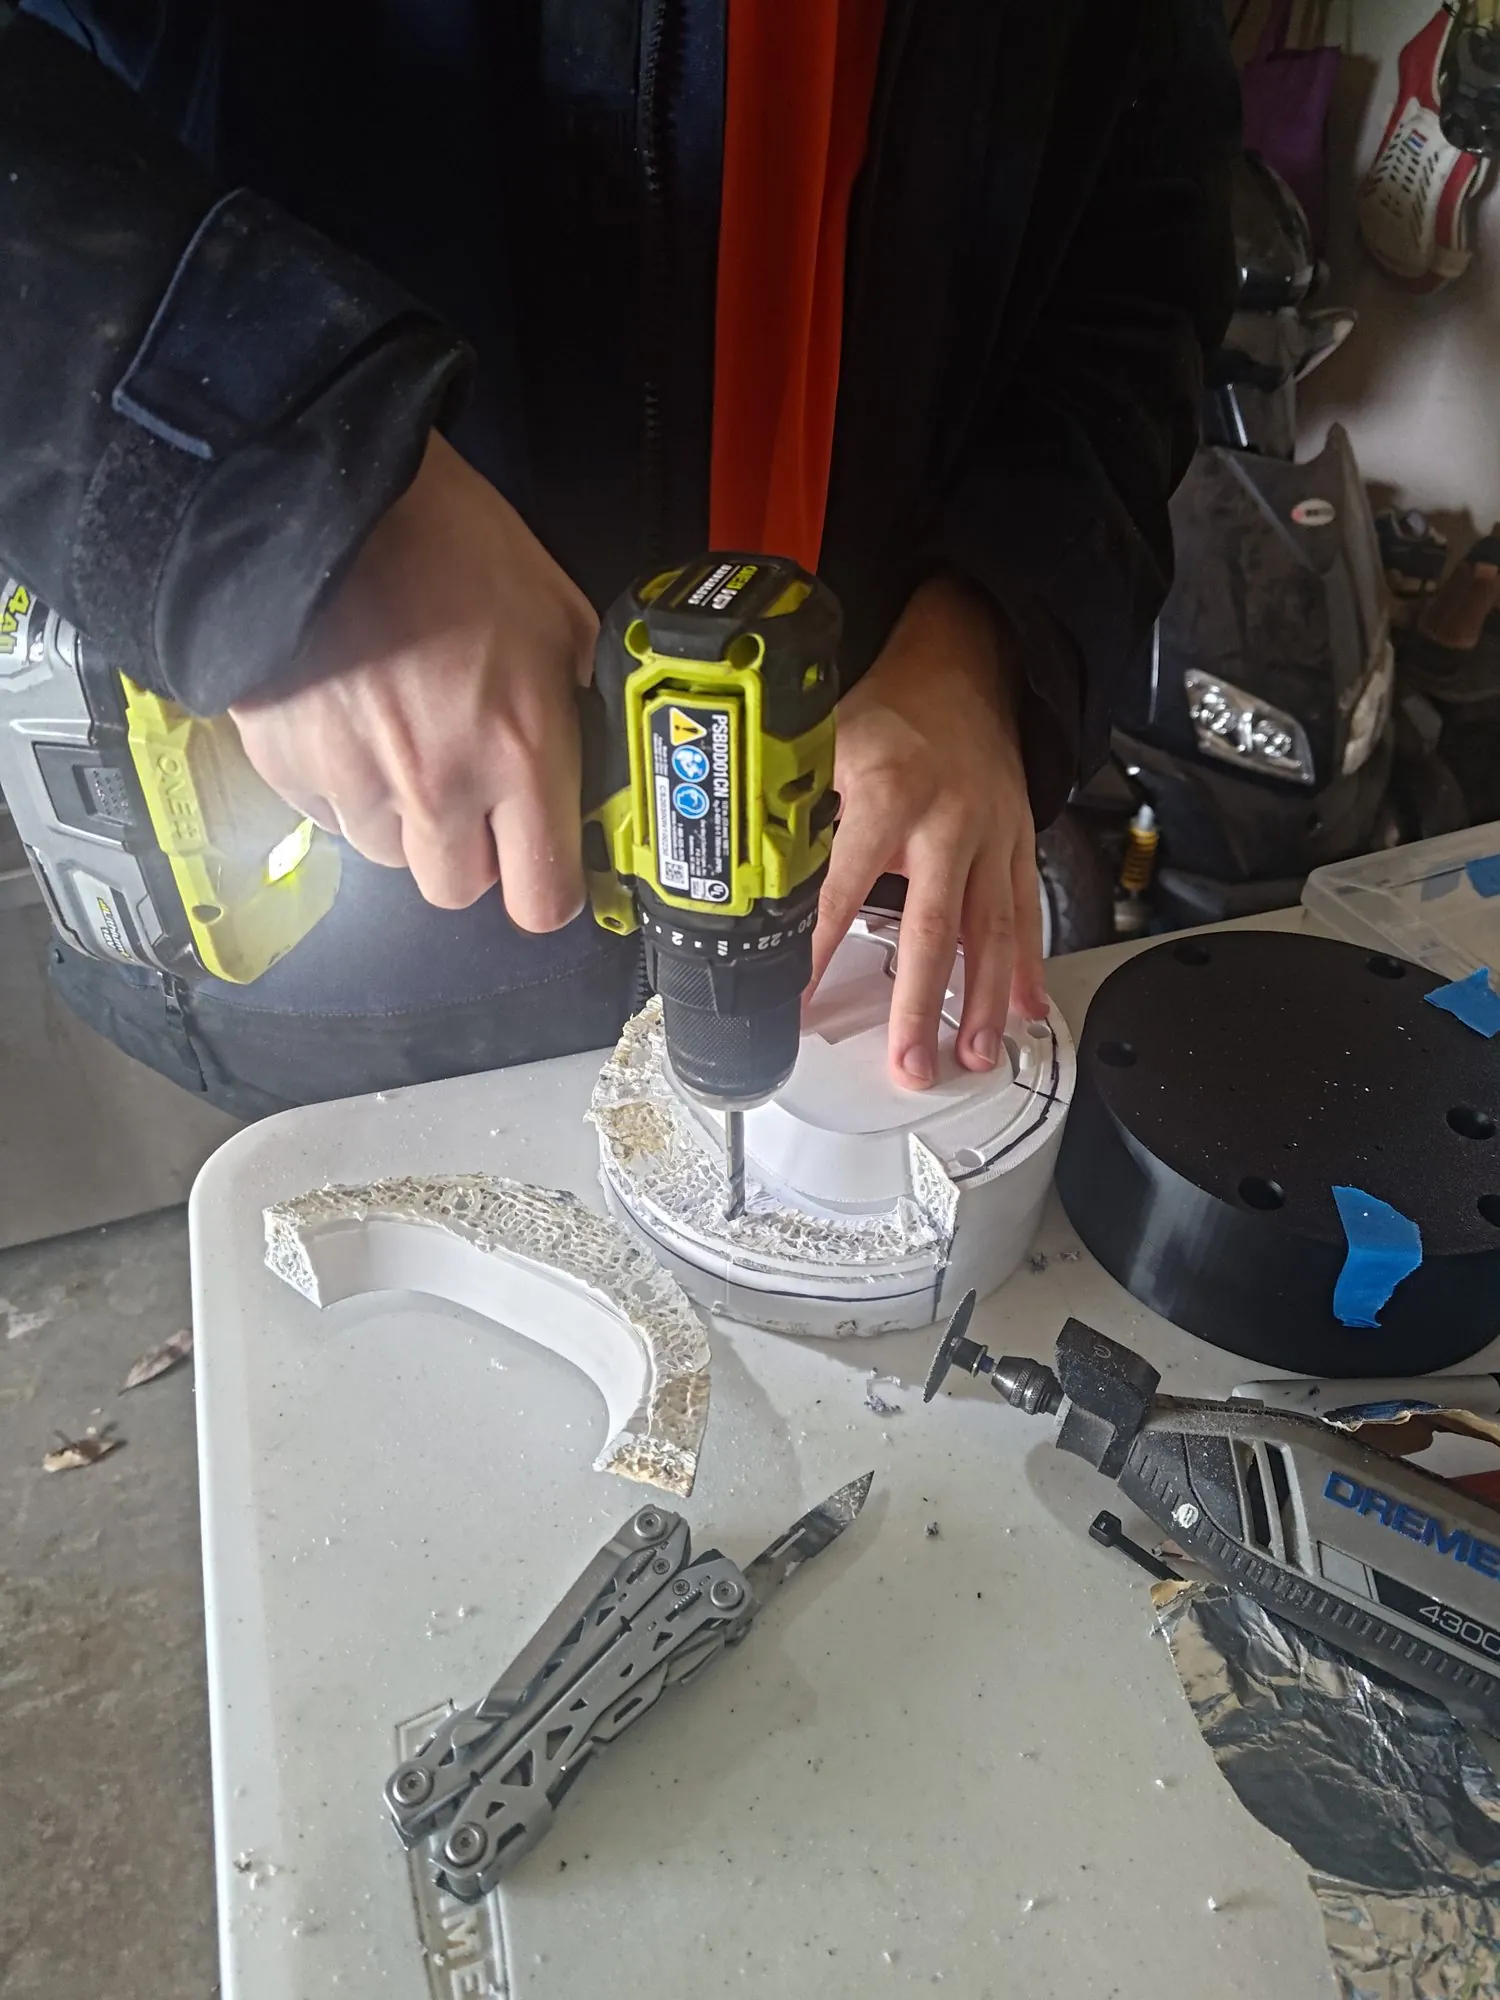
Mold Finishing
After the mold was dis-assembled all surfaces were removed of stray plastic from the bad print, ensured the surface was clean with alcohol, smoothed with sandpaper, drilled if necessary, and able to be put in the correct orientation.
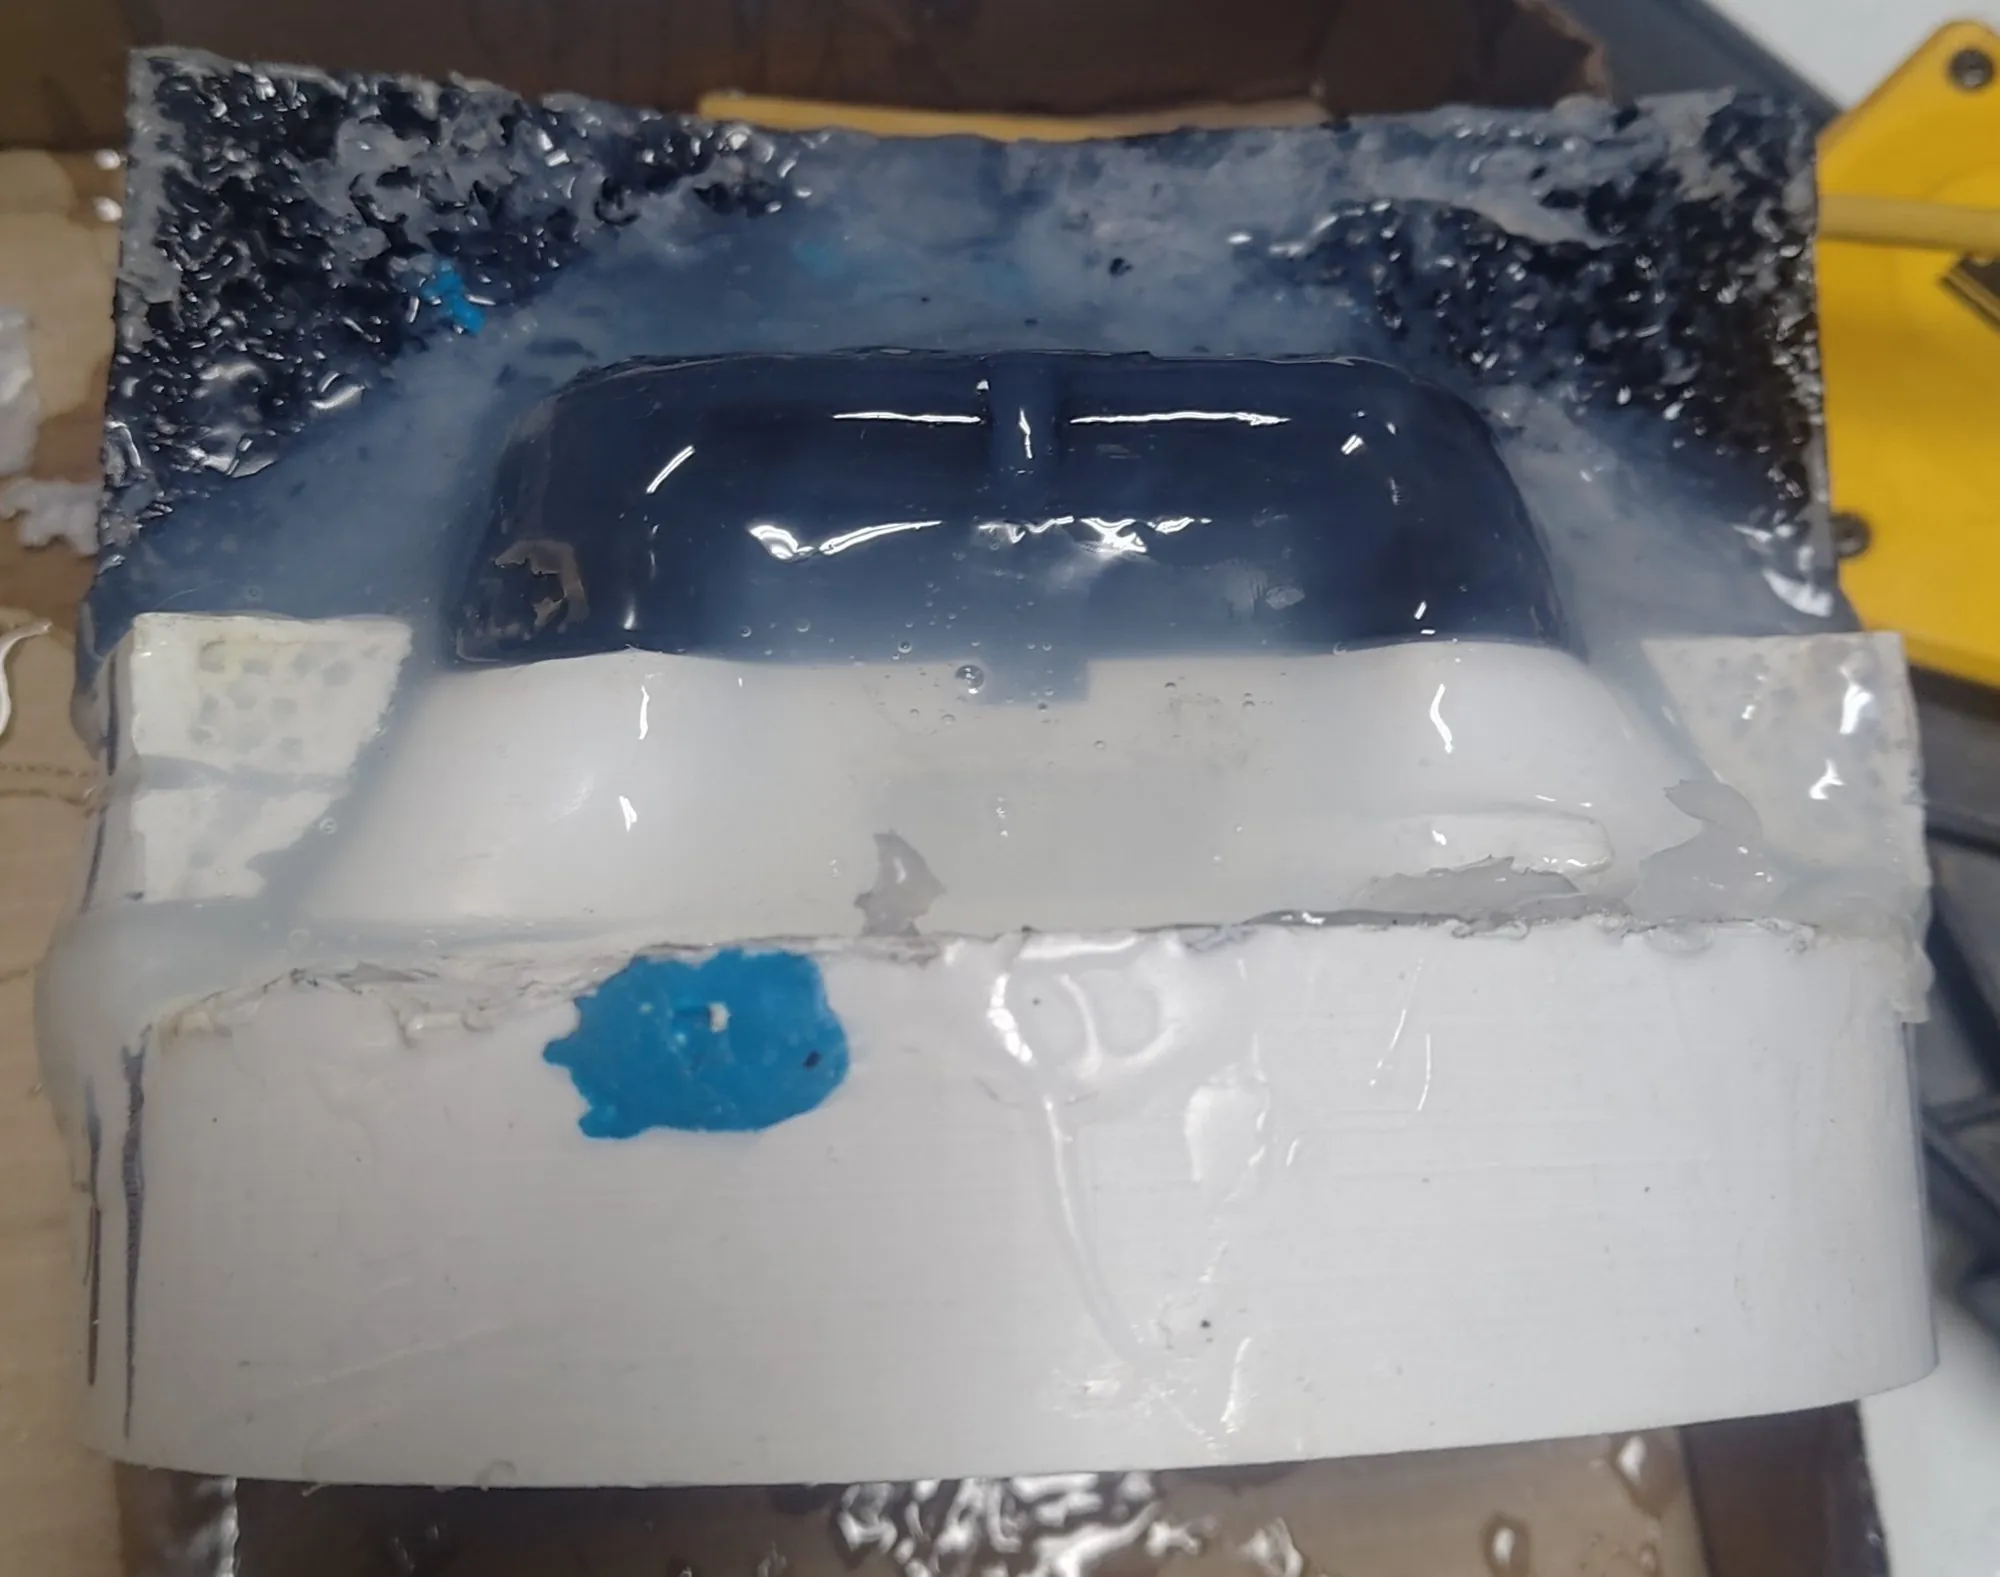
Silicone Molding (6+)
Many takes of the silicone mold were done, 6+ with varying success with painting, injection molding, part molding etc. The final method was a combination of top bottom part molding with injection molding afterwards to fill in major air pockets.
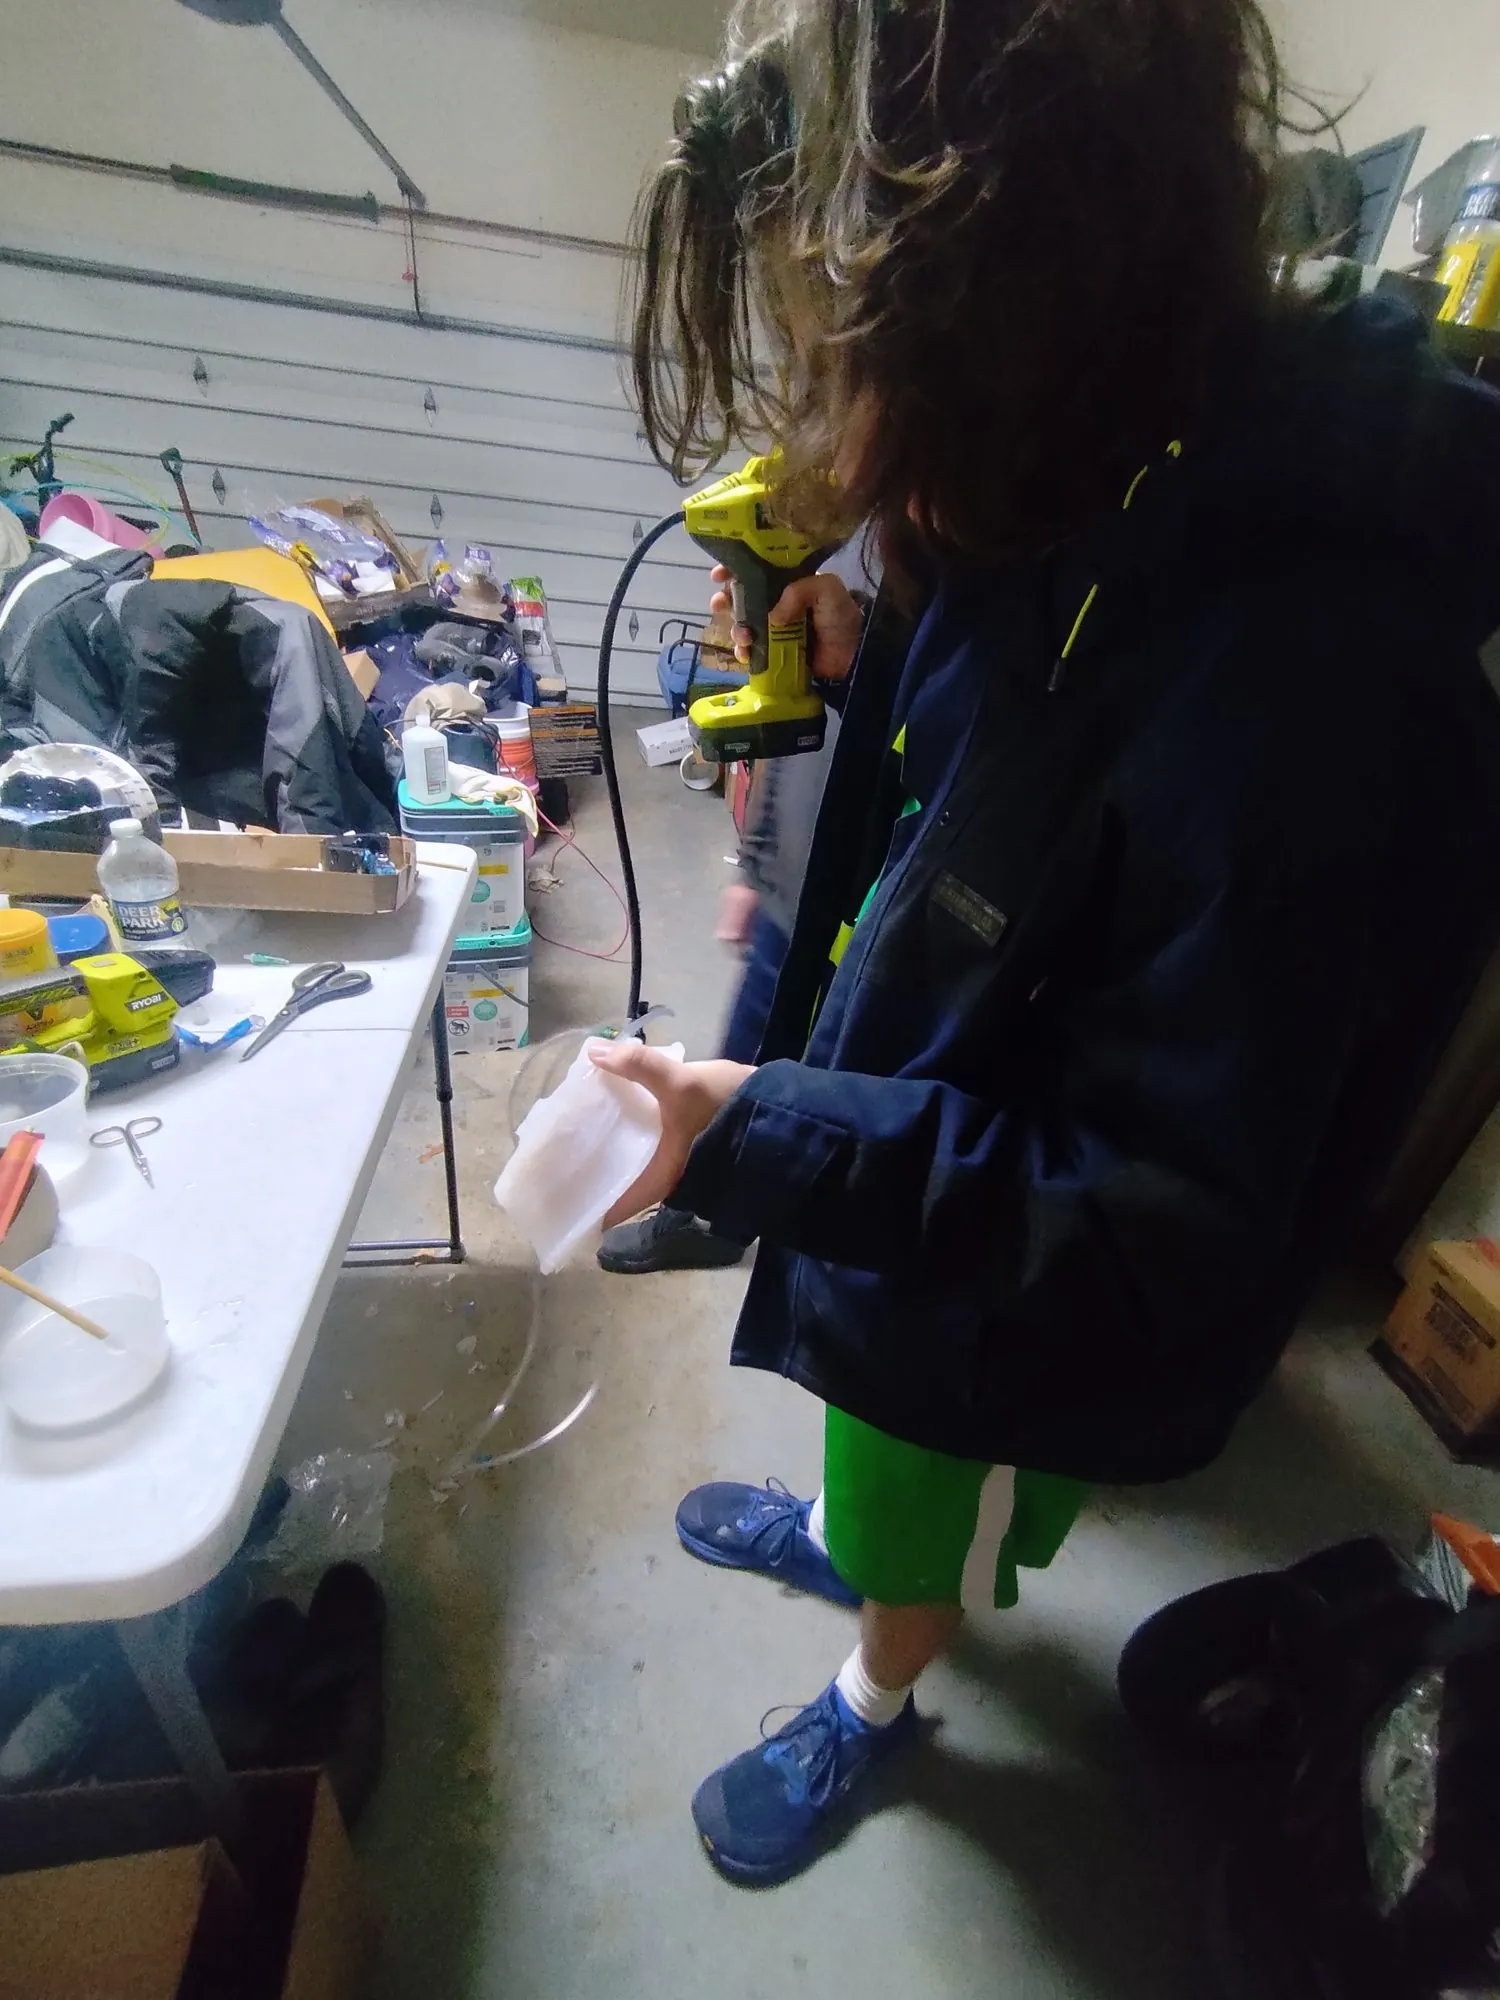
Injection molding correction
The major air pockets (mainly the nubs on the four corners of the CPAP) were injection molded with silicone so they could connect to the magnetic connection hooks. A combination of manual negative pressure, and automatic/manual positive pressure was used.
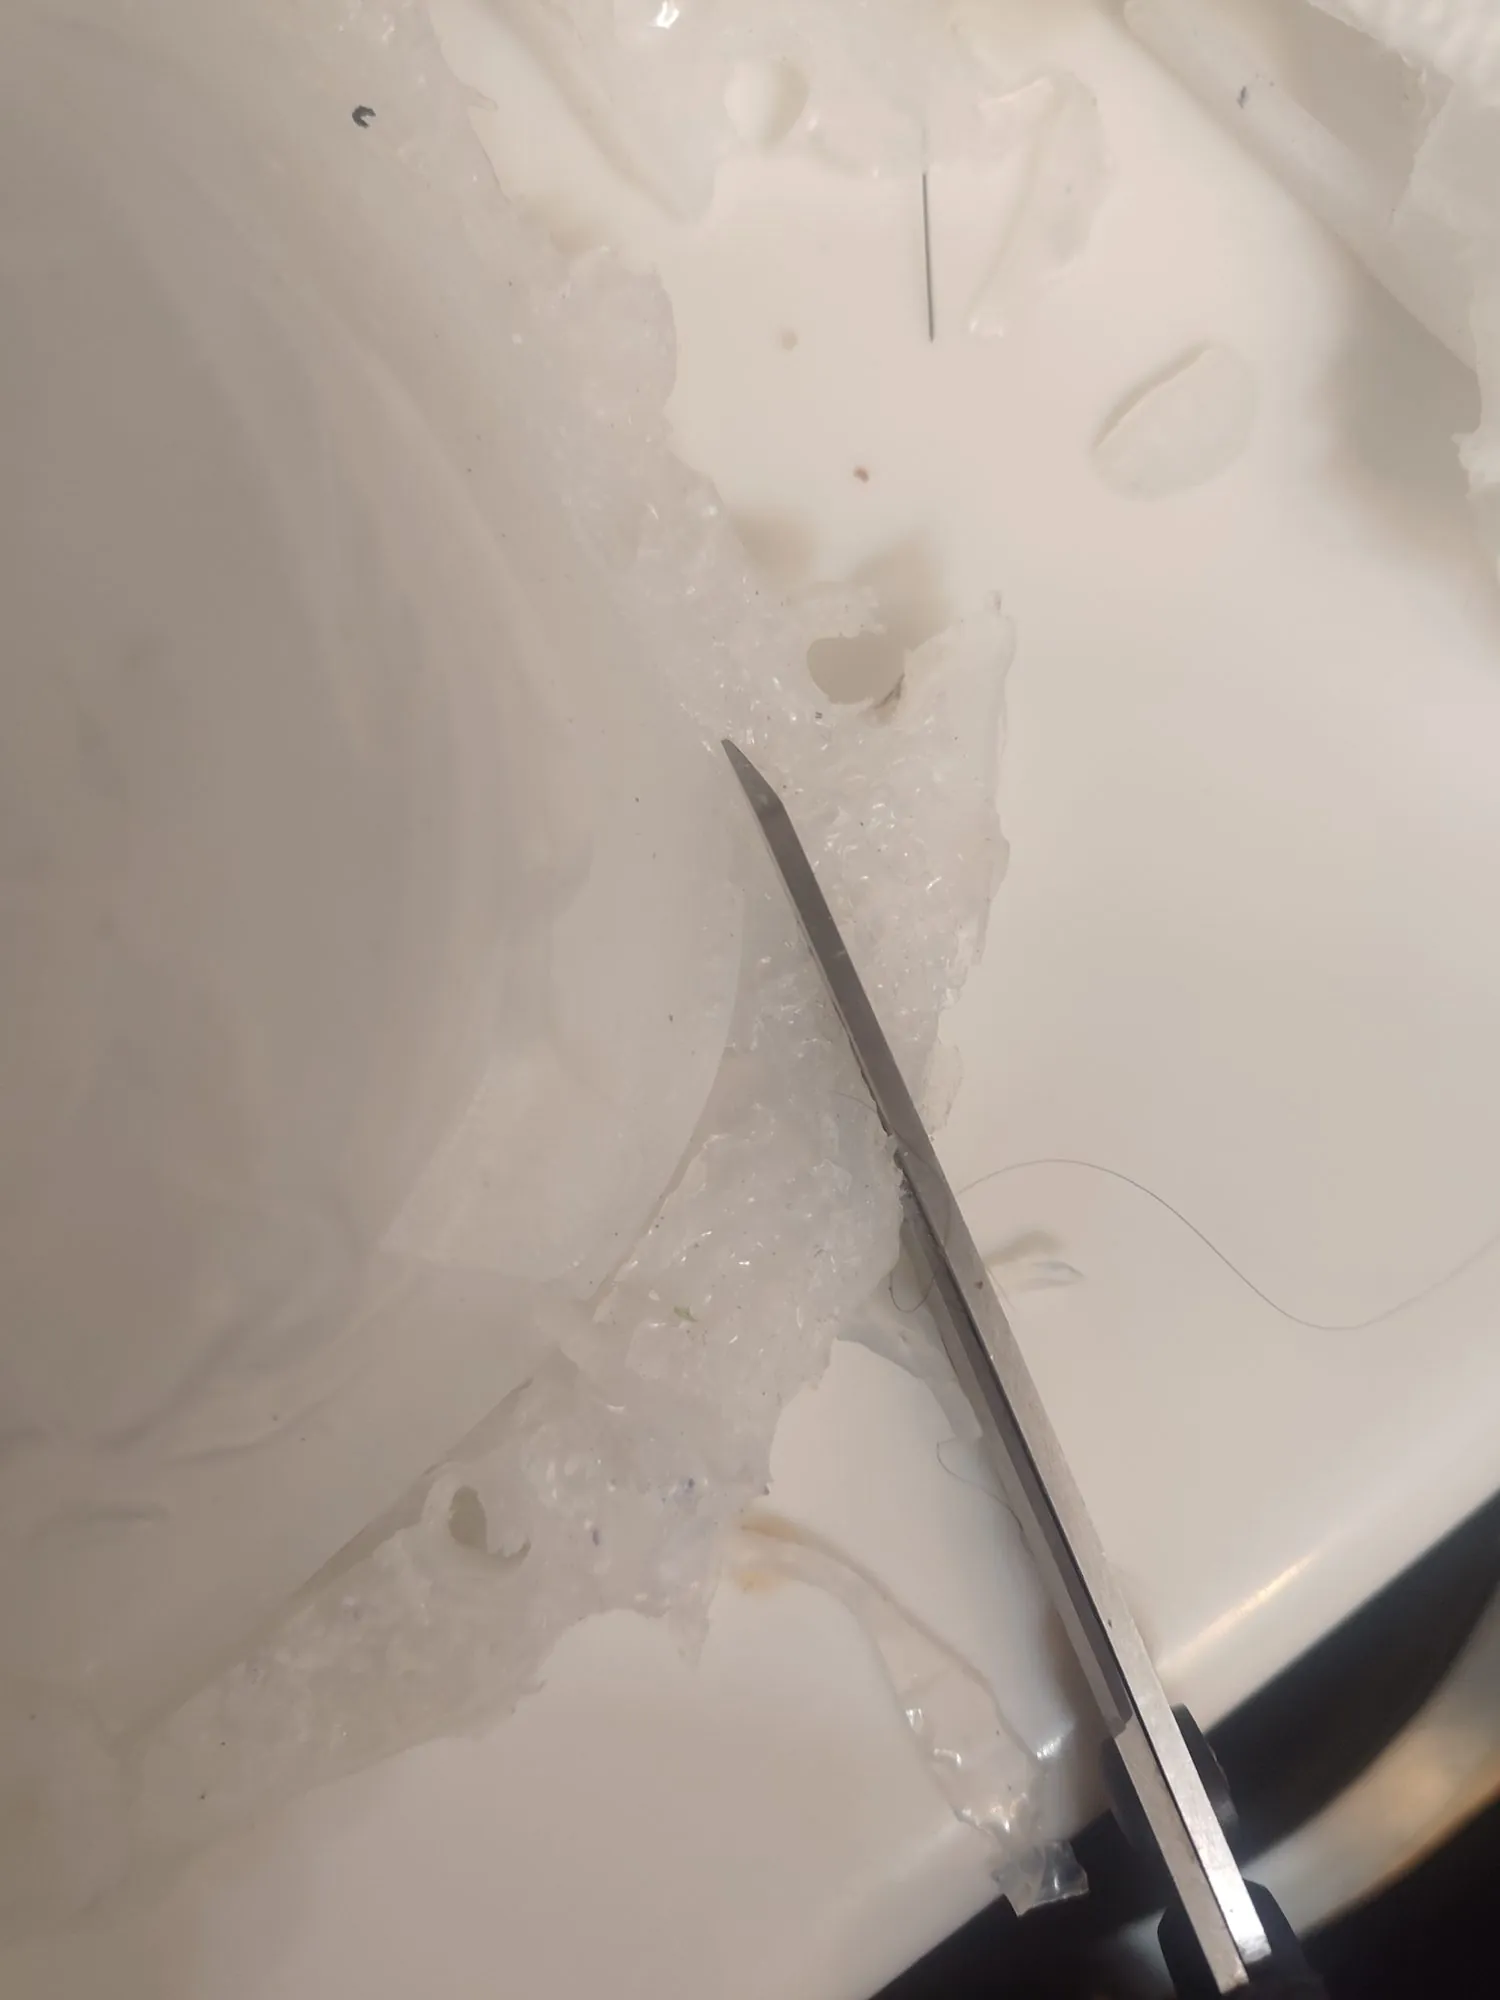
Mask finishing
The mask was quite messy after all of this and excess parts of the mold were removed such as in the air vent being filled in and excess throughout the top bottom parts etc.
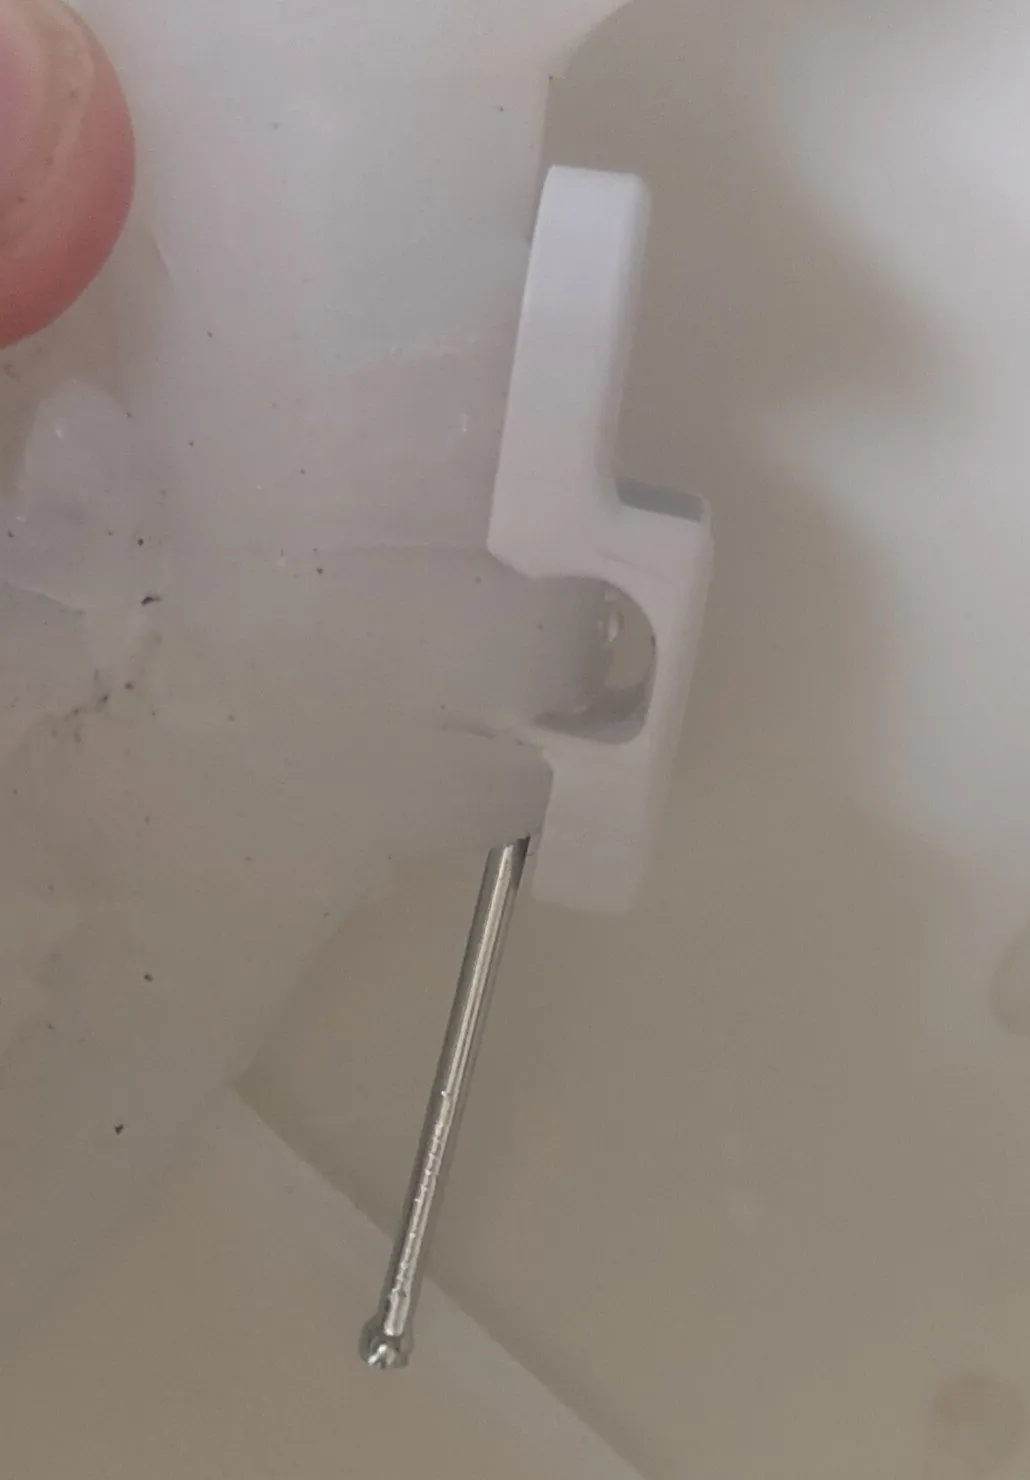
Magnetic hook attachment
Spare Amara View magnetic clips were used, and the nubs were cut down so they could grip, with a screw underneath to ensure they stayed in place in the silicone and the magnet clip does not rip off if it attaches to other objects.
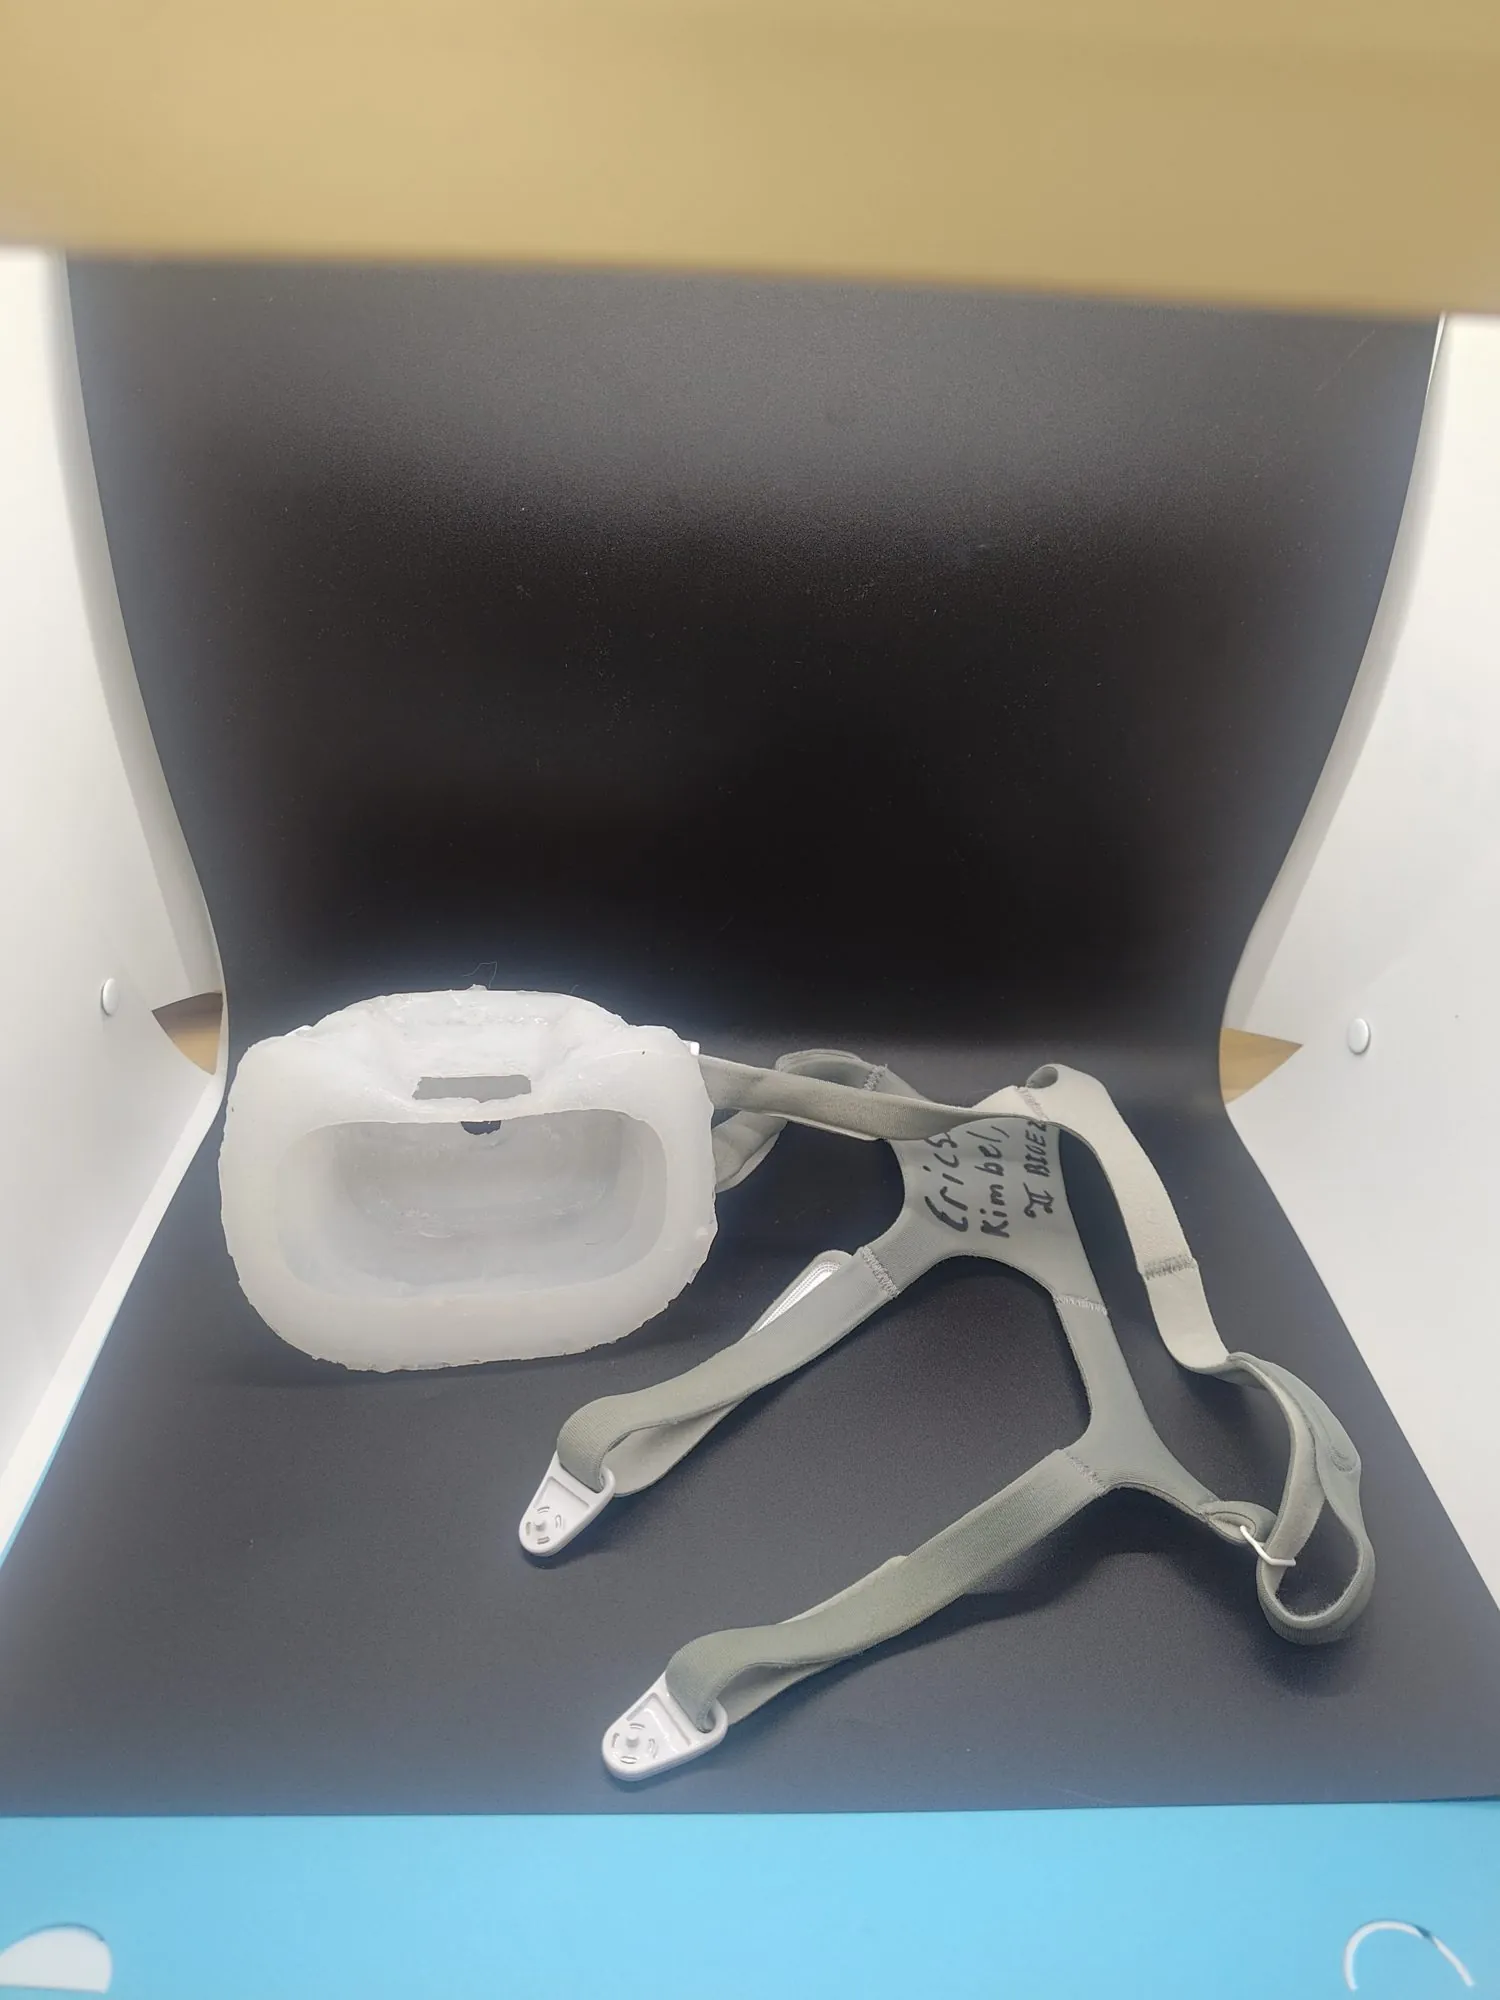
Final assembly
The final design is shown to the right with the custom AI generated mask for my face, with the 4 magnetic clips attached via custom hooking mechanism, that then clip to the clips on the spare Amara view headgear.
Blood Pressure Monitor
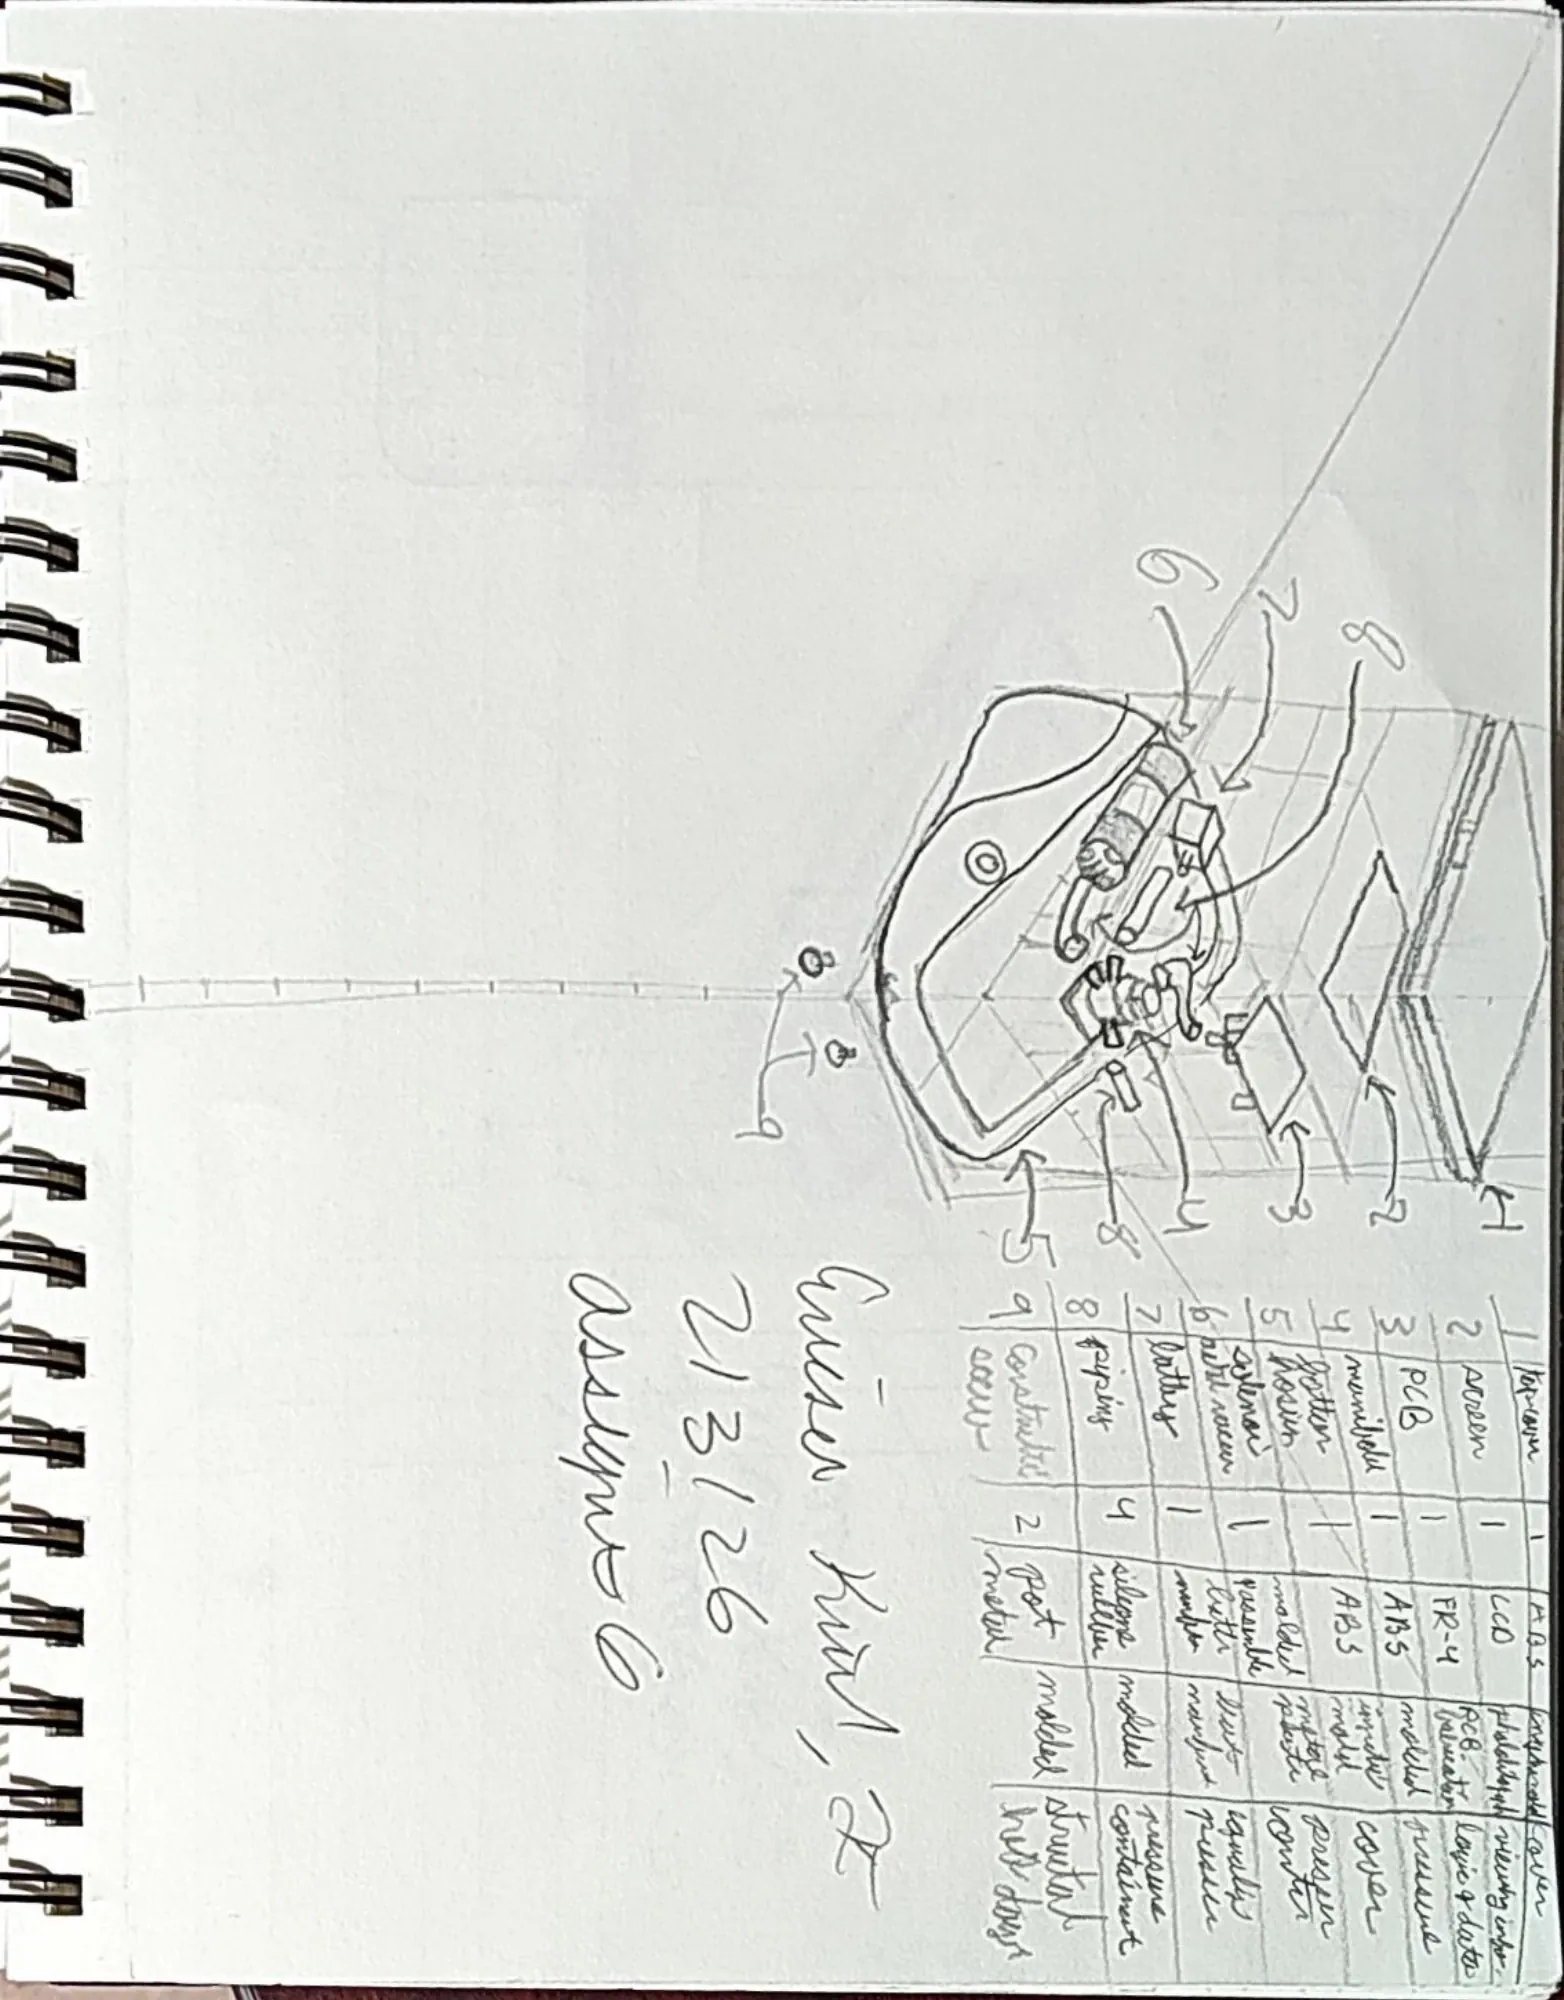
Disassembly, BOM, and Sketching
The original blood pressure system was taken apart, sketched and a Bill of materials was made.
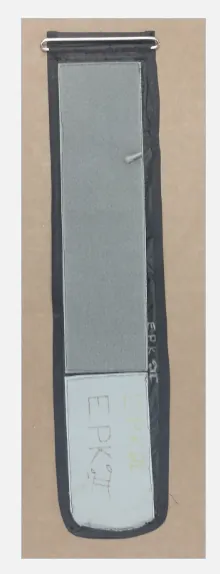
Sewed Arm Cuff
A sewed arm cuff replica was made for the blood pressure prototype with a working bladder.
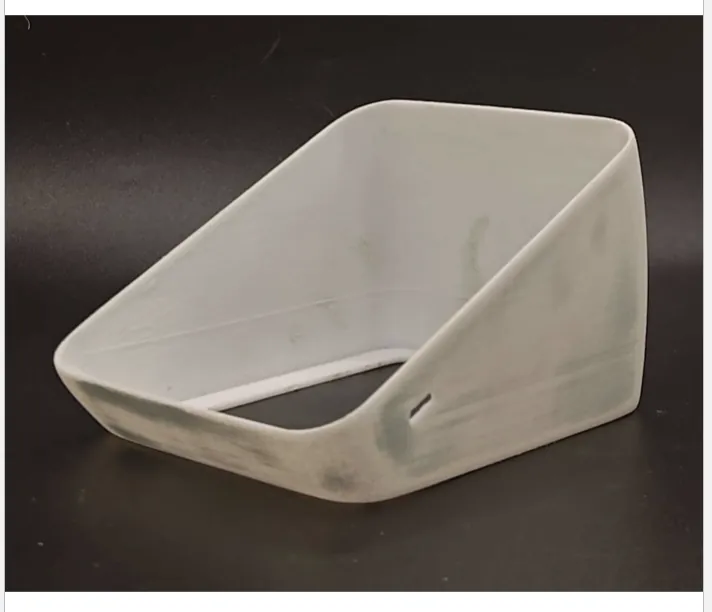
Bondo and Sanding
The 3d-printed body prototype was filled in with Bondo and sanded down as to have a smooth surface
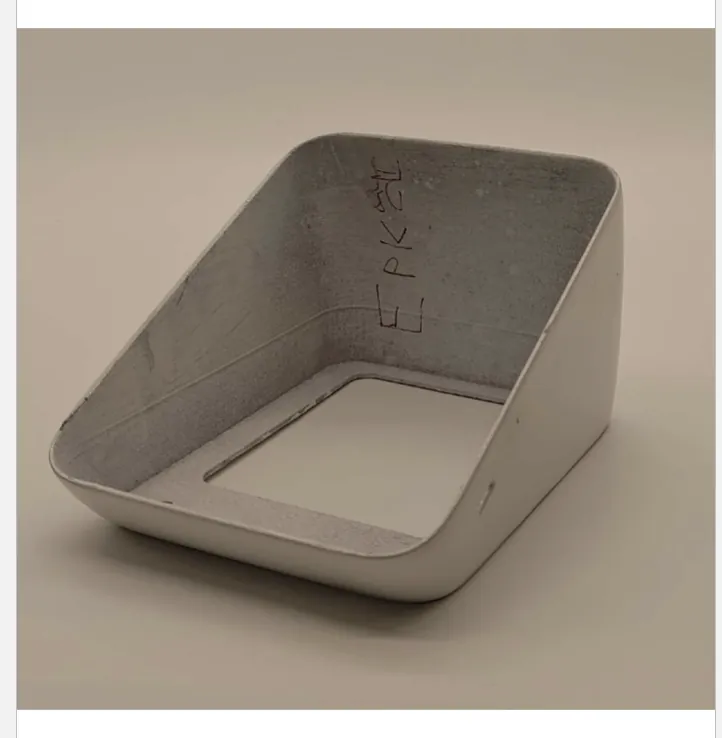
Painting
The body was then painted with primer and a shiny coat as to have a similar look to the original
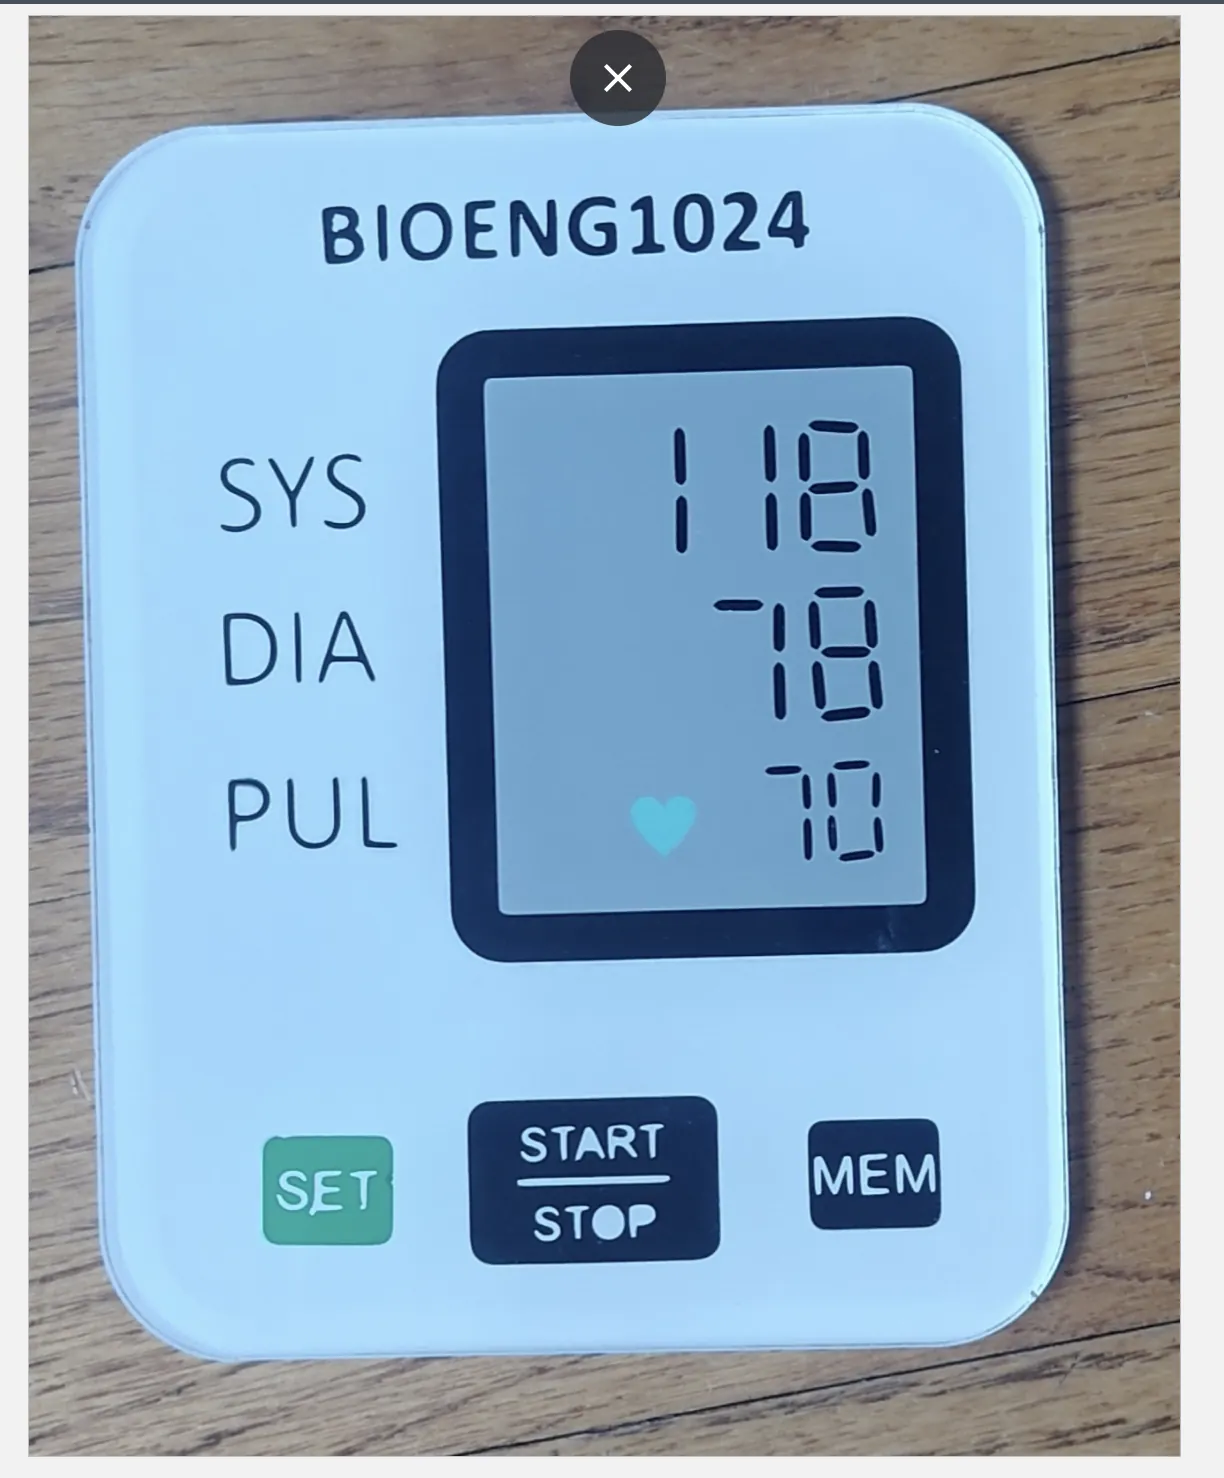
Vinyl and Graphics
Vinyl cut numbers, letter, buttons, etc. were put onto a laser cut acrylic front panel, which was then spray painted white and gray to be similar to the original screen.
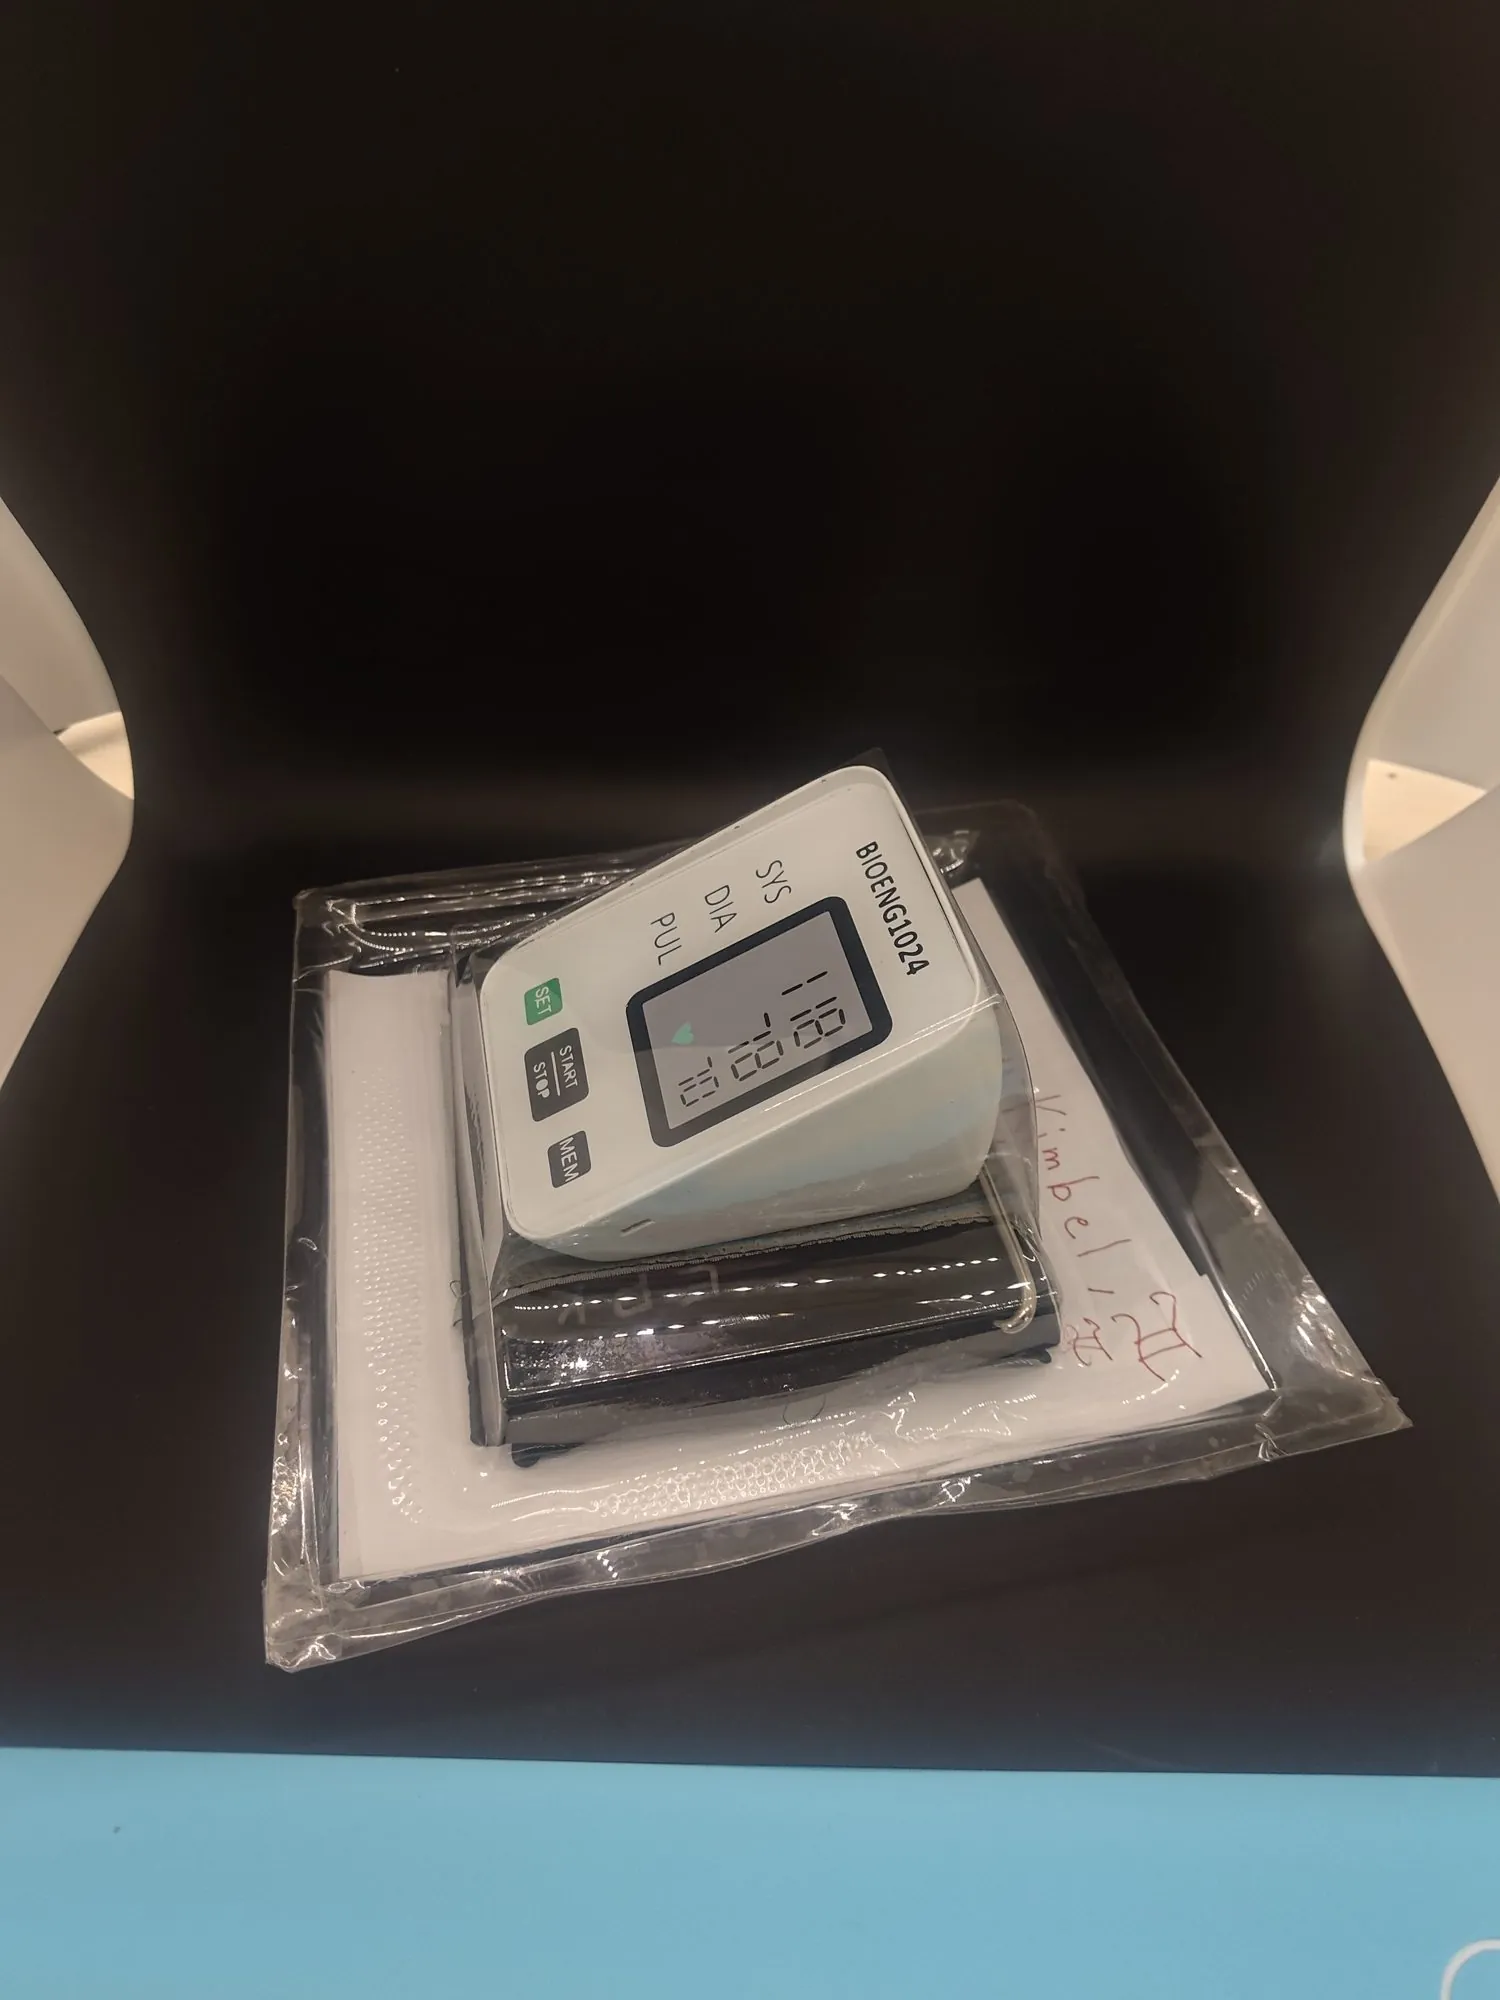
Final Assembly with Packaging
The final blood pressure housing, cover, cuff, and vacuum formed packaging is shown to the right.